In this tutorial, we'll show you how to get started with ProjectDocsEngine by creating a new project using the AI Wizard.
Getting Started
Step 1: Click on the Start 7 Day Free Trial button located at the top of the page to begin your free trial.
Step 2: Click on the Sign in button.
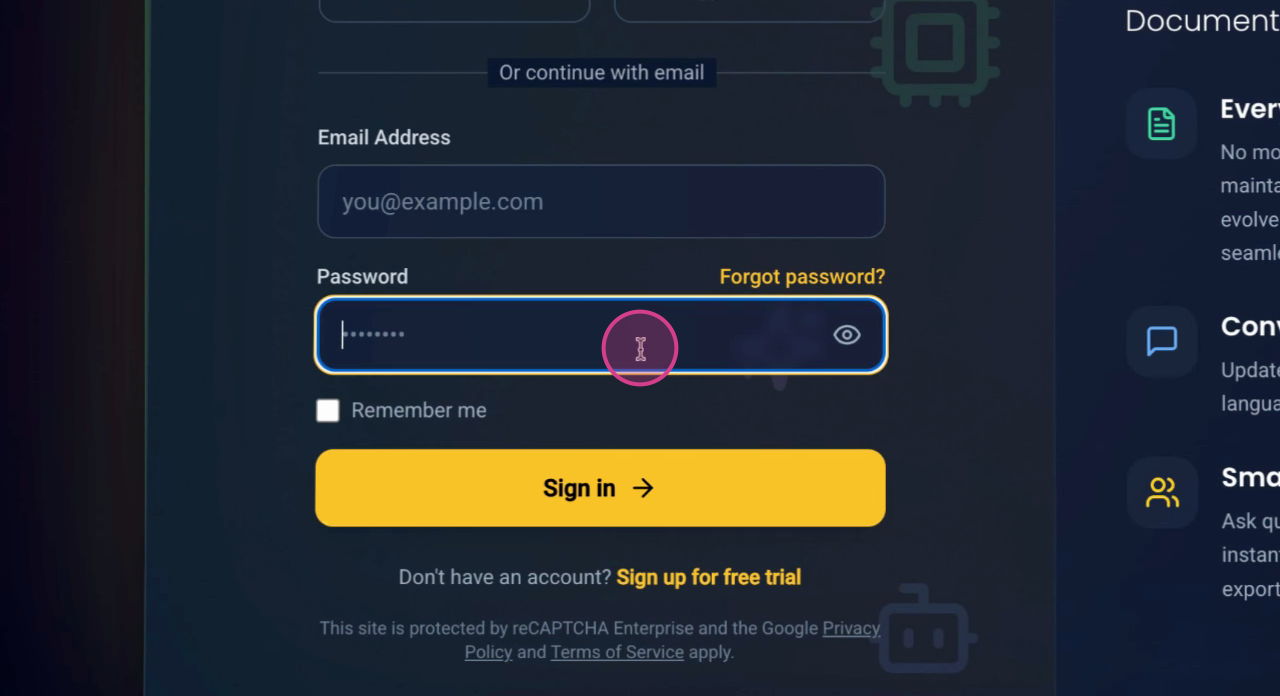
Step 3: Enter your test login credentials.
Step 4: Navigate to the new project creation section by clicking on New Project.

Using the AI Wizard
Step 5: Choose between two options: Guided Questionnaire or AI Wizard. If you have all the necessary details for your project, opt for the Guided Questionnaire. Otherwise, if you're unsure about the specifics needed to create your documents, select the AI Wizard.
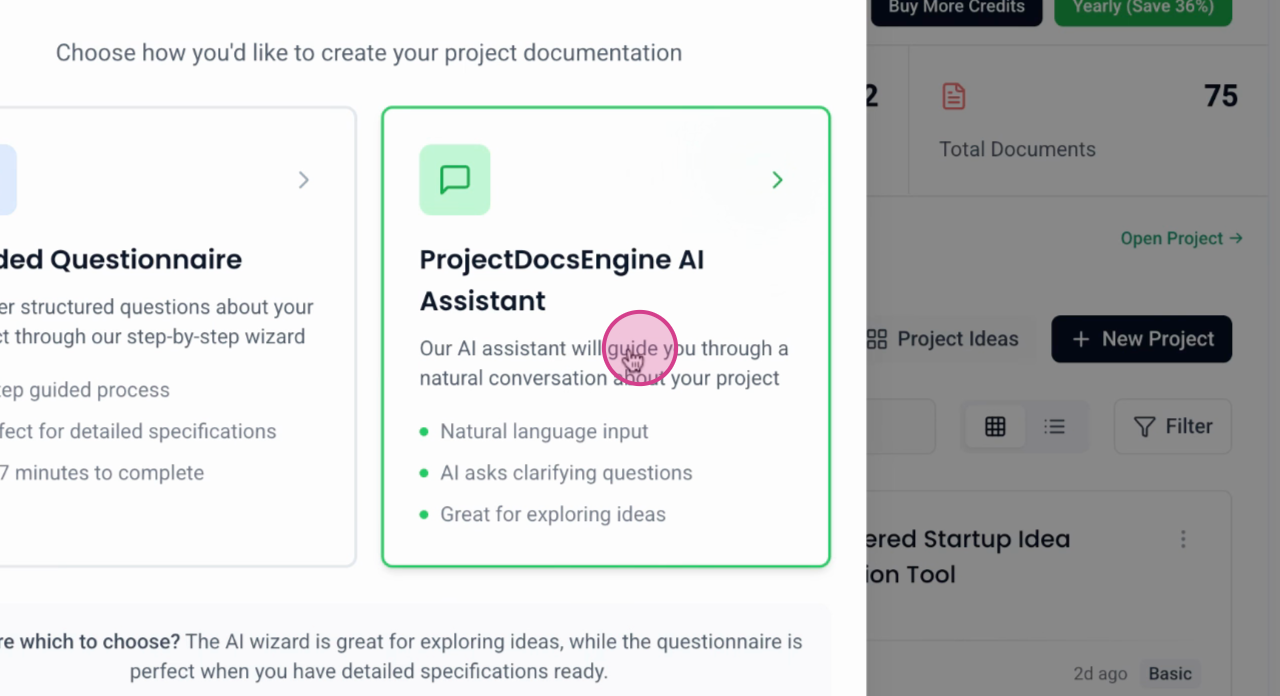
Step 6: Click on AI Wizard to proceed with this method.
Step 7: Answer the initial question posed by the AI Wizard, such as "What are you planning to build?" to start shaping your project.
Generating Project Documentation
This tutorial will guide you through the process of generating project documentation for your AI Shorts short video generation web app. By following these steps, you'll be able to access essential documents like the Product Requirements Document (PRD), Tech Stack, Database Schema, Design Guidelines, User Flows, and Task List, which are crucial for the development of your application.
Step 1: Choose the appropriate plan for your project needs. For most projects, the Standard plan should suffice.
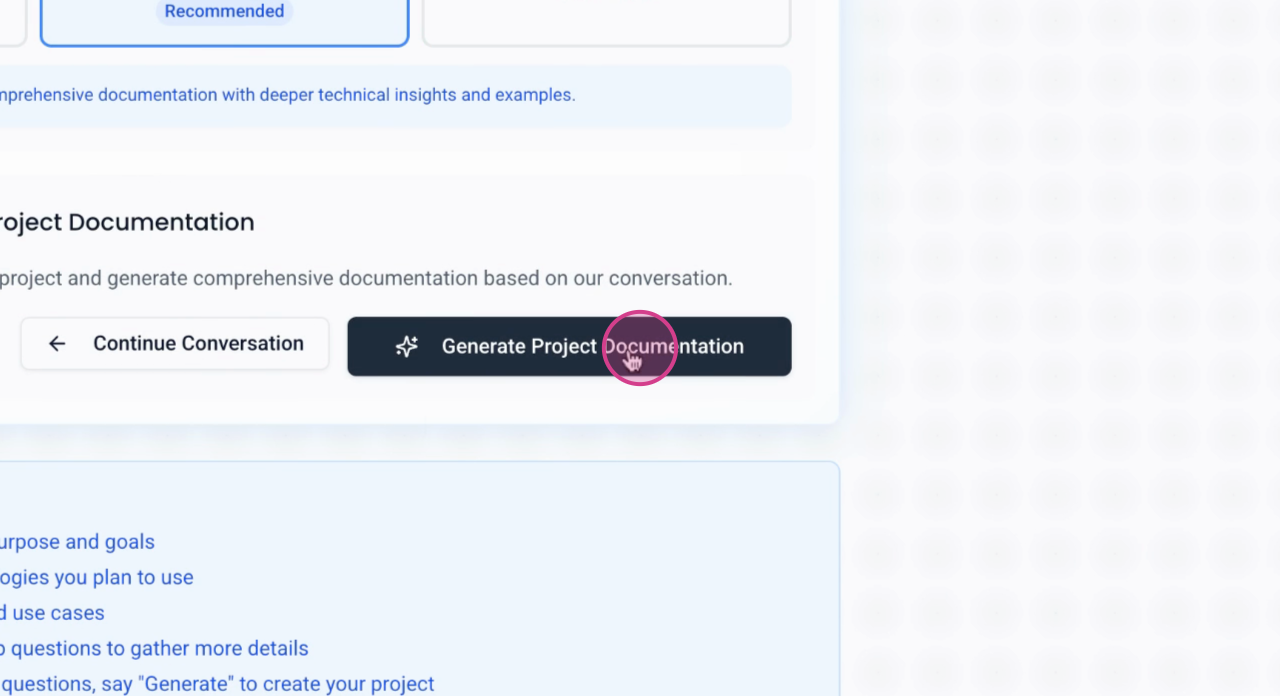
Step 2: Click Generate project documentation. This action will redirect you to the dashboard where you can monitor the progress of your document generation.
Step 3: View the banner at the top of the dashboard which indicates that the initial document generation process has started.
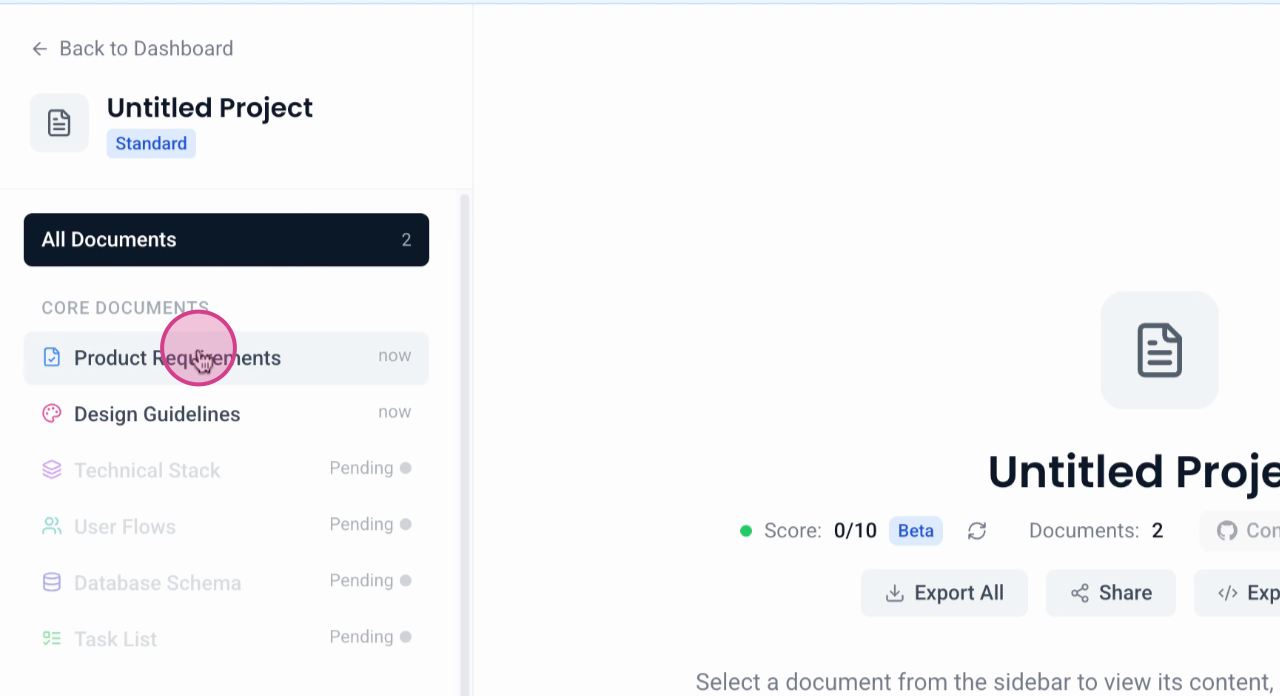
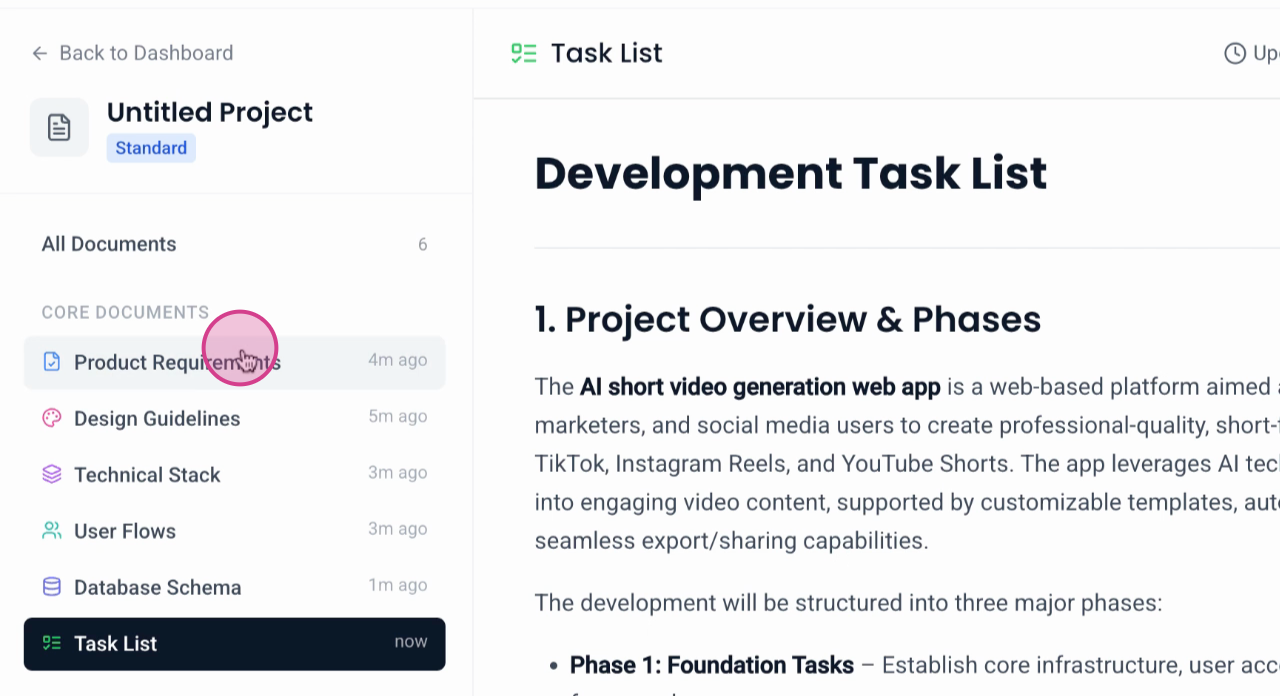
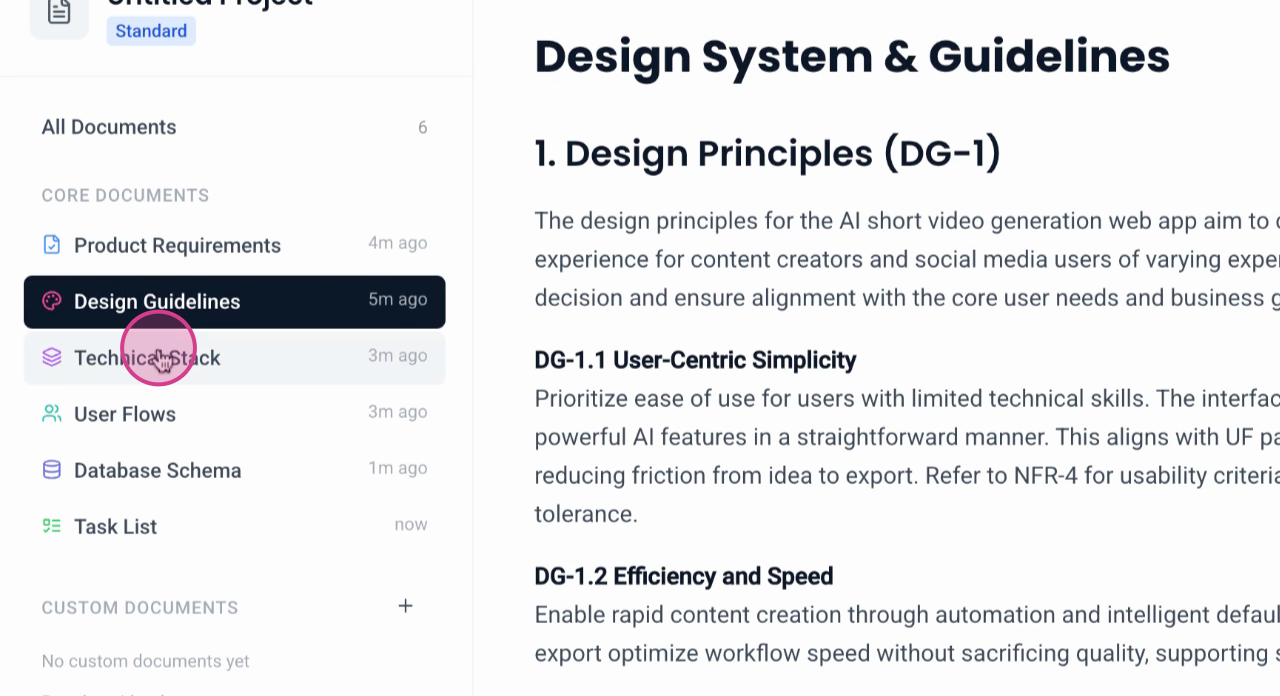
Step 4: Check the generated documents. Initially, six key documents are created: PRD, Tech Stack, Database Schema, Design Guidelines, User Flows, and Task List.
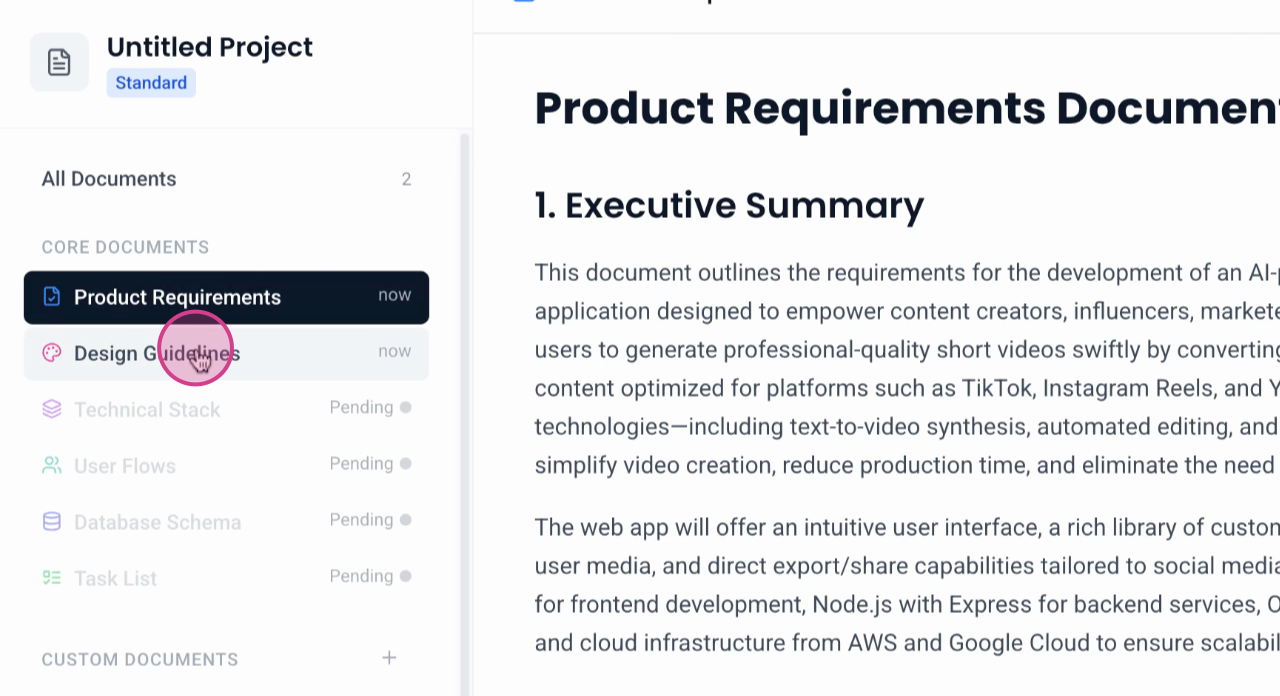
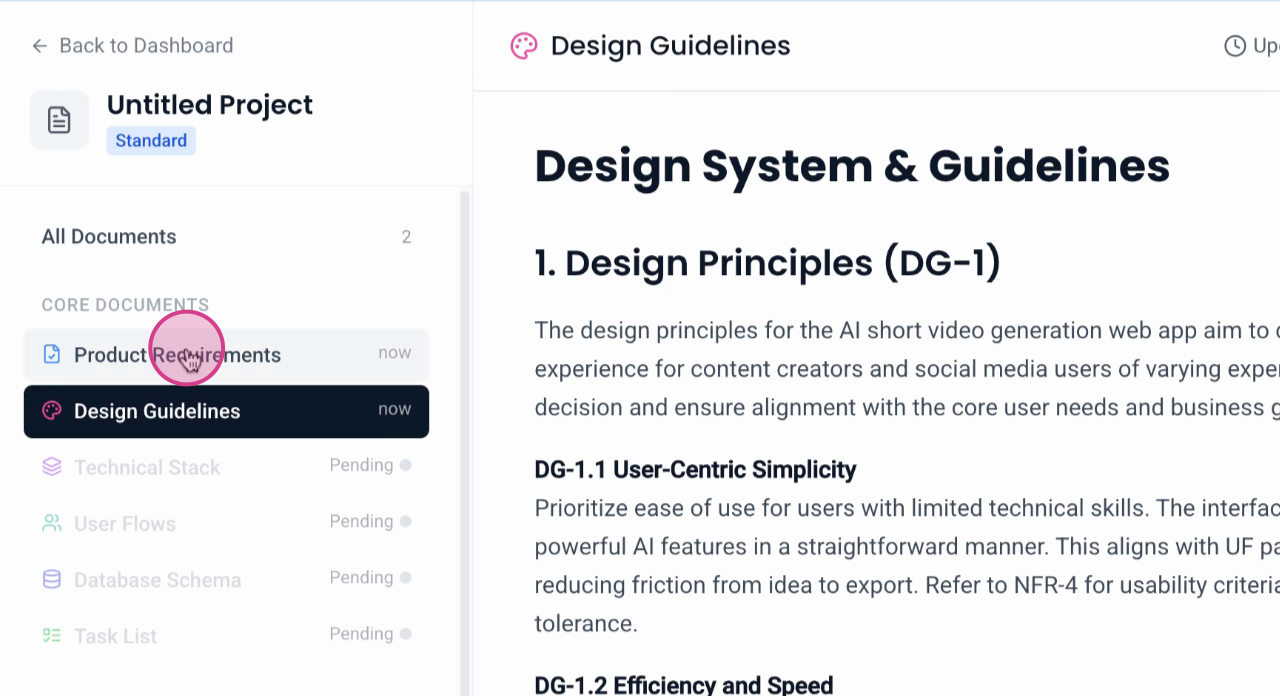
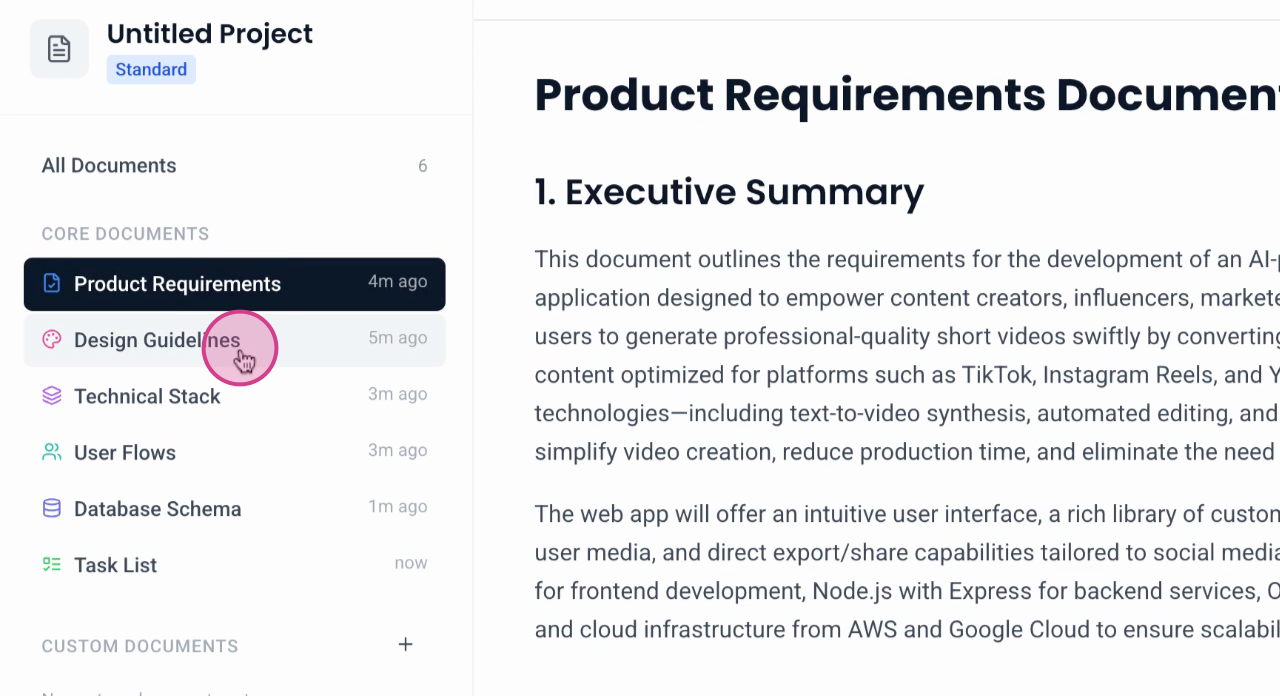
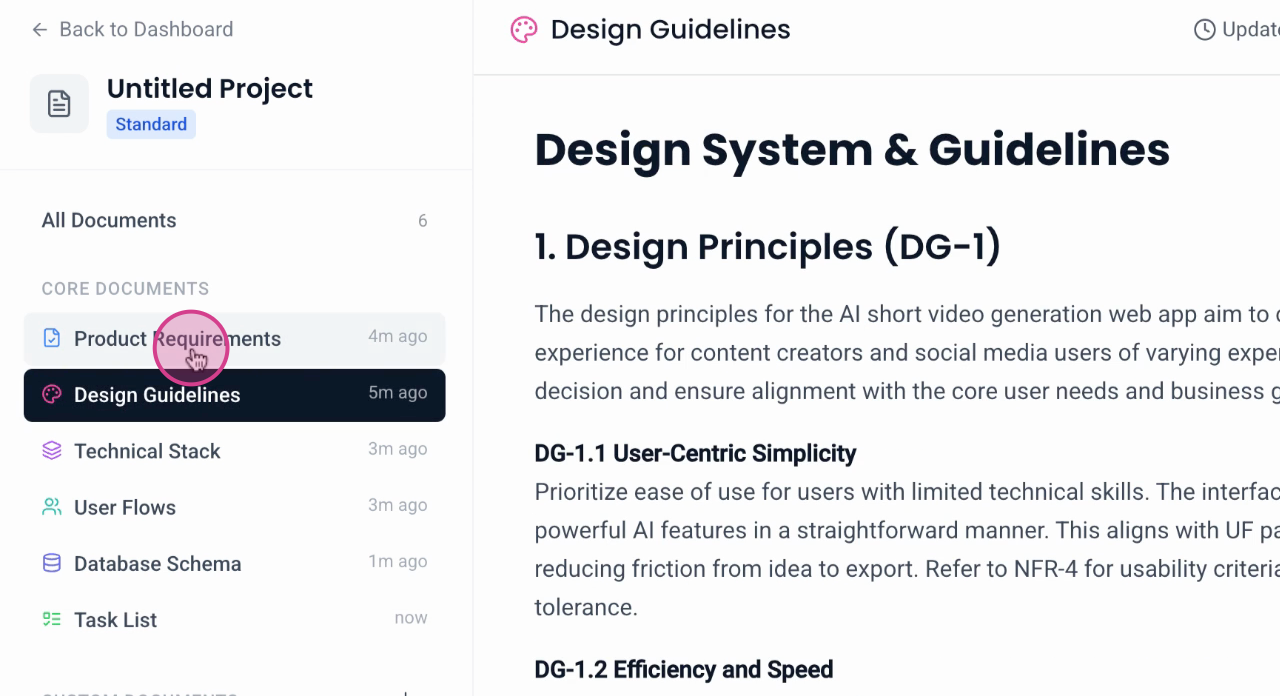
Step 5: Review the documents that have been generated. You should find the Product Requirements and Design Guidelines among the first set of documents.
By following these steps, you'll have a comprehensive set of documents to guide the development of your AI-powered short video generation web app, tailored to content creators targeting platforms like TikTok, Instagram, and YouTube.
Understanding Your Documents
Let's examine the contents of the product requirements document. It outlines the vision and goals of the project, including a detailed description of the target users, their needs, and their pain points.
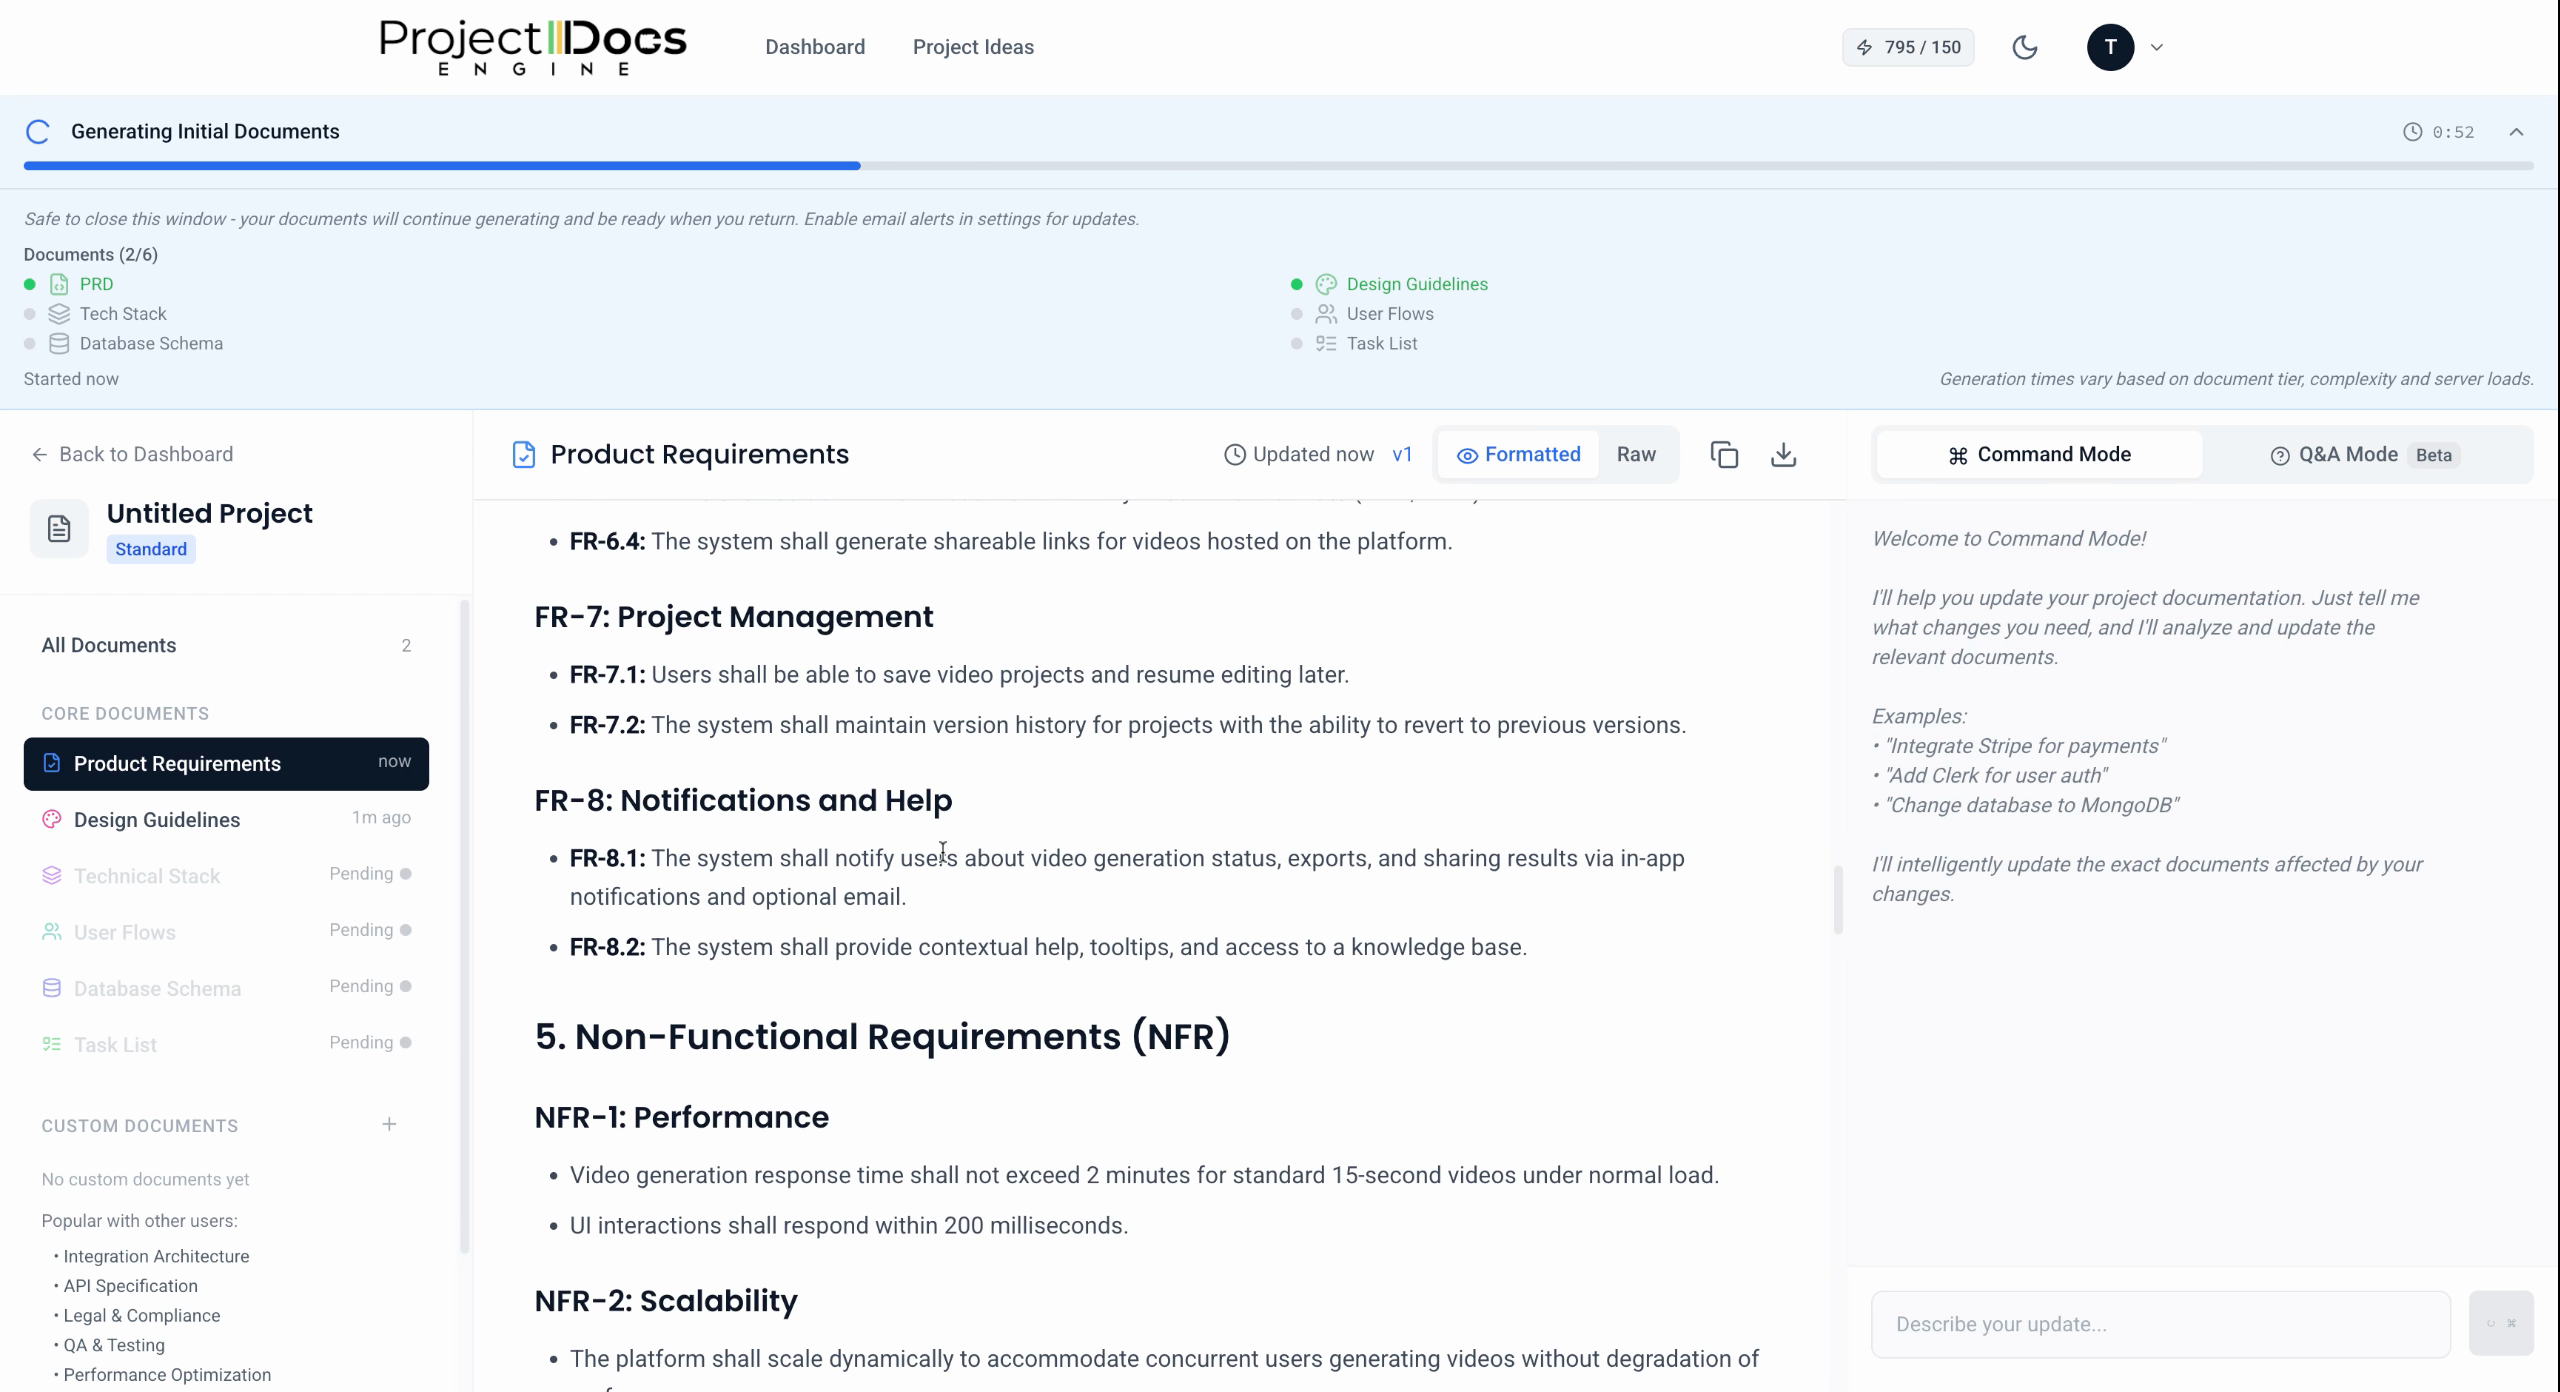
The document also details the requirements for account management, each labeled with identifiers like FR 2.1, FR 2.2, and so on.

It includes a list of functional and non-functional requirements such as a template library, automated editing tools, user media integration, and export capabilities. Additionally, it addresses performance, scalability, security, usability, user stories, exporting, sharing videos, and timelines and milestones assumptions.
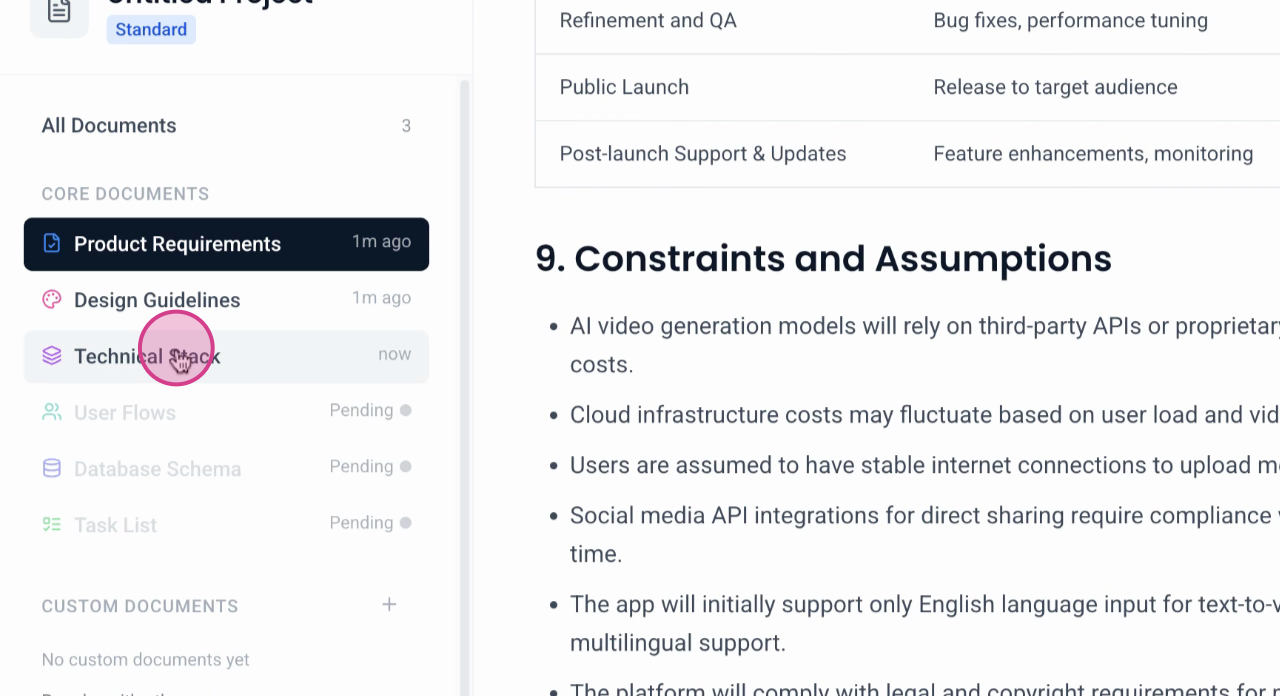
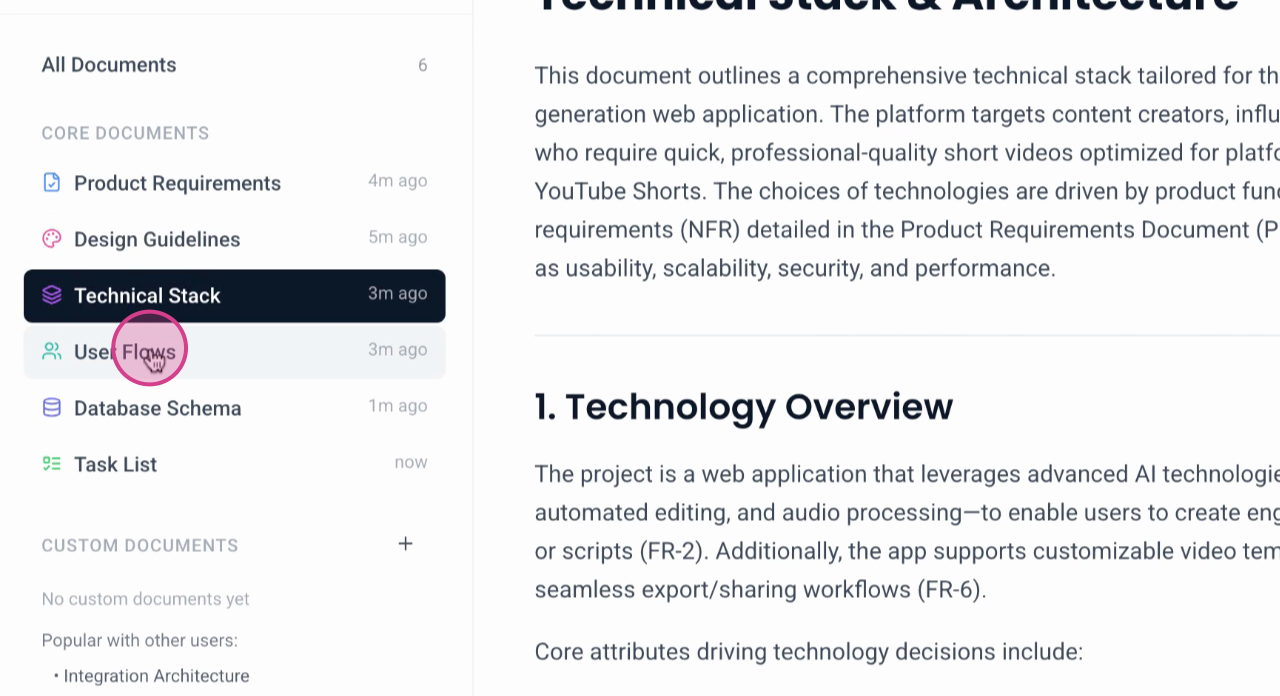
Now, let's look at the technical stack.

The tech stack includes React and HTML5 with Video.js for smooth video previewing, a backend stack with AES, Node.js, and an API layer for AI integration with OpenAI GPT for video synthesis and generations. User management involves authentication, and the database uses PostgreSQL. Cloud services include Google Cloud or Amazon AWS S3, with OpenAI GPT integration. The technical stack section is comprehensive, detailing many other components.
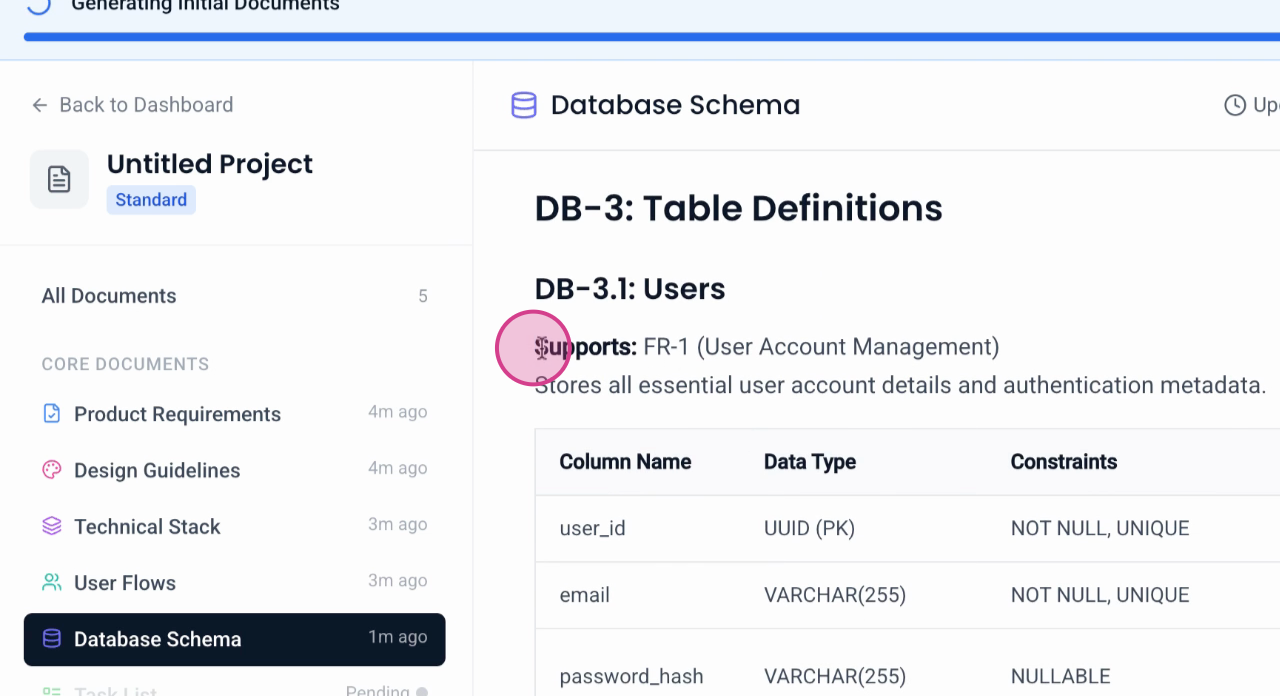
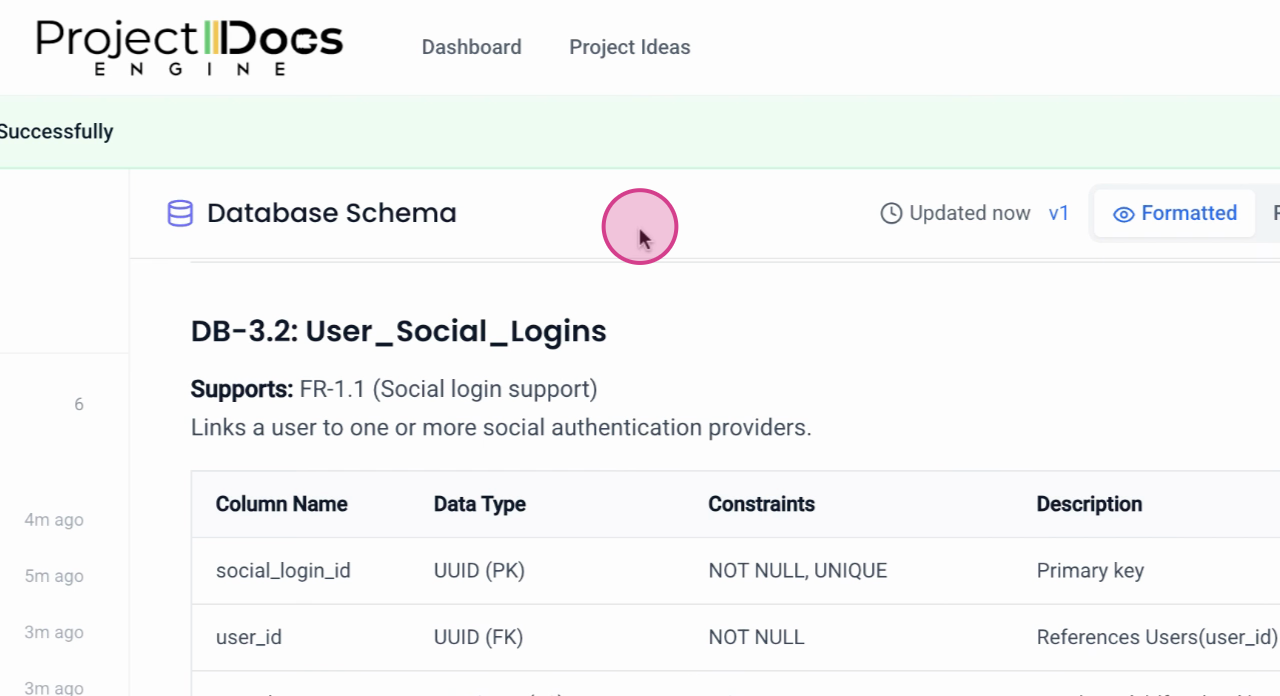
Database Schema
The database schema document is now ready.
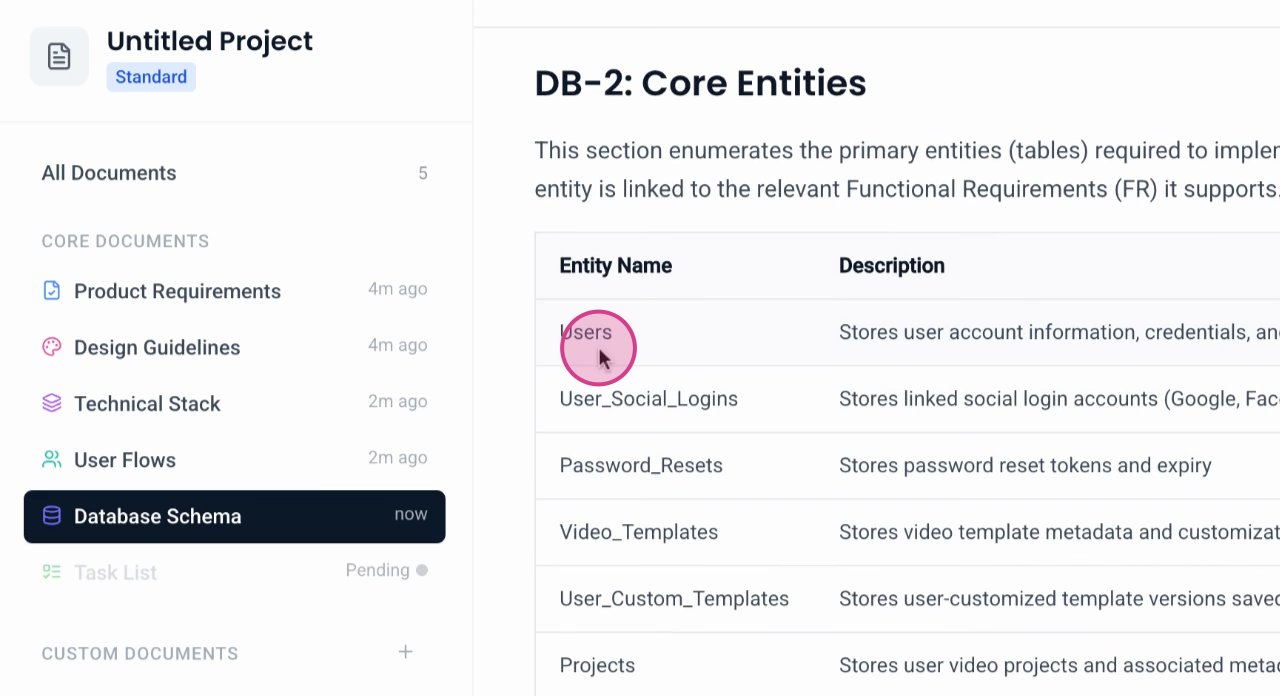
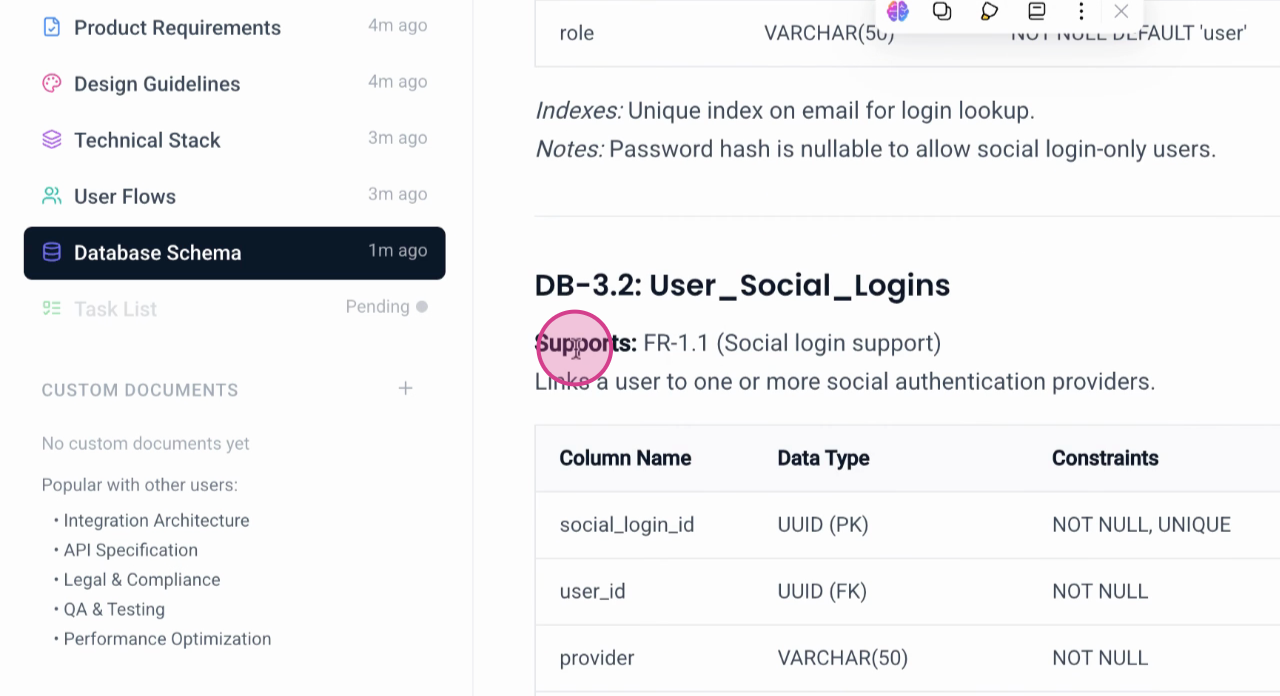
This section displays the database tables,

highlighting the main tables. On the
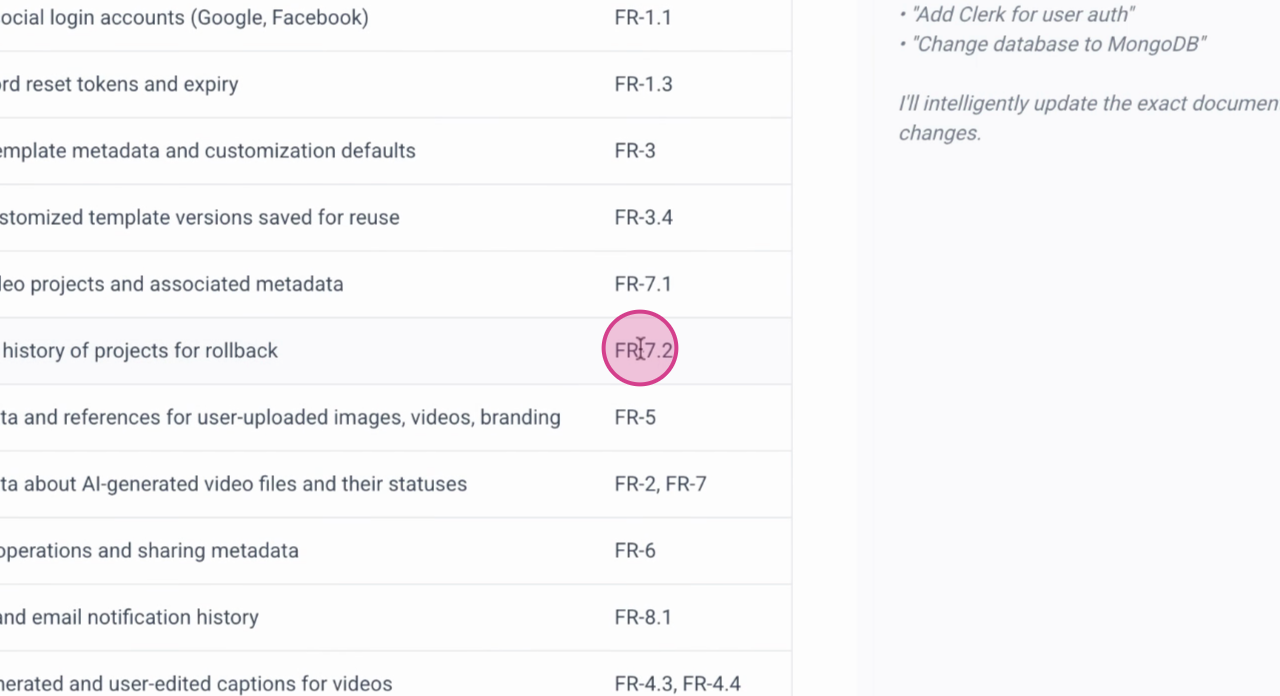
right side of each table, you see the corresponding feature requirement and the associated table.
As you scroll down, it becomes clear how each table and its associated feature are connected.
For instance, one table is associated with FR1 and another with
FR 1.1. This organization aids AI coding tools in accelerating the development process, whether for a web app or a mobile app.
All documents have now been generated.
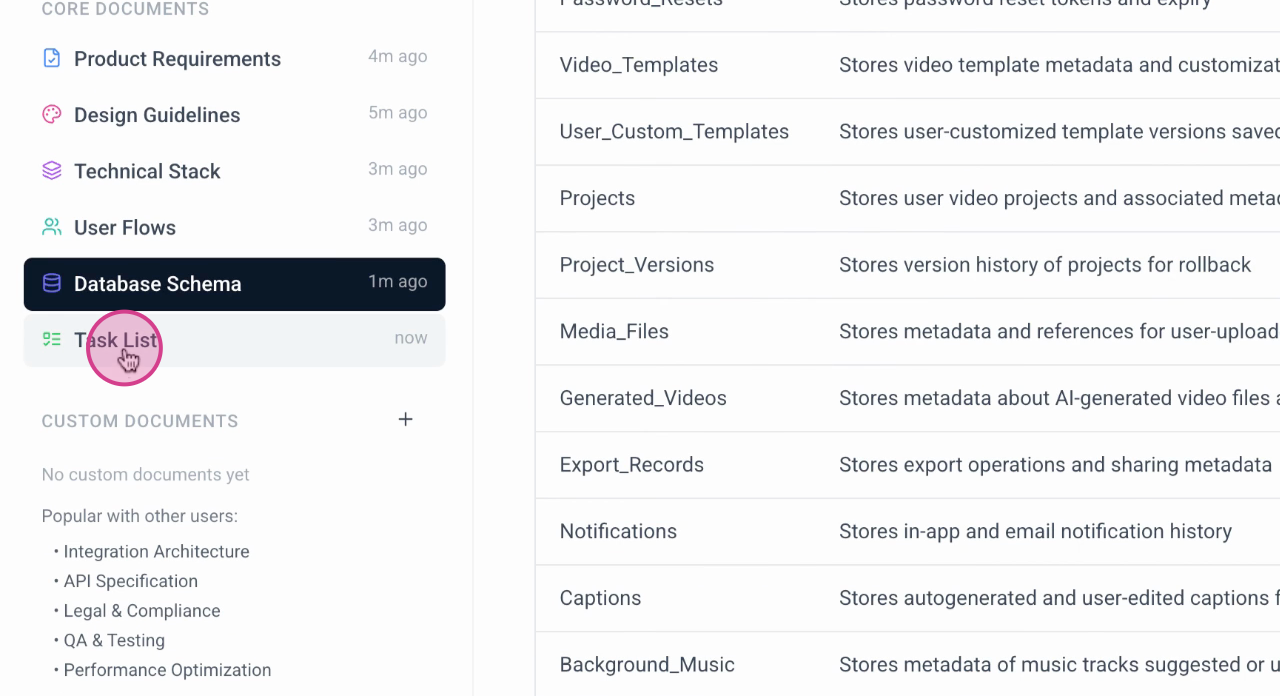
This section is a task list.
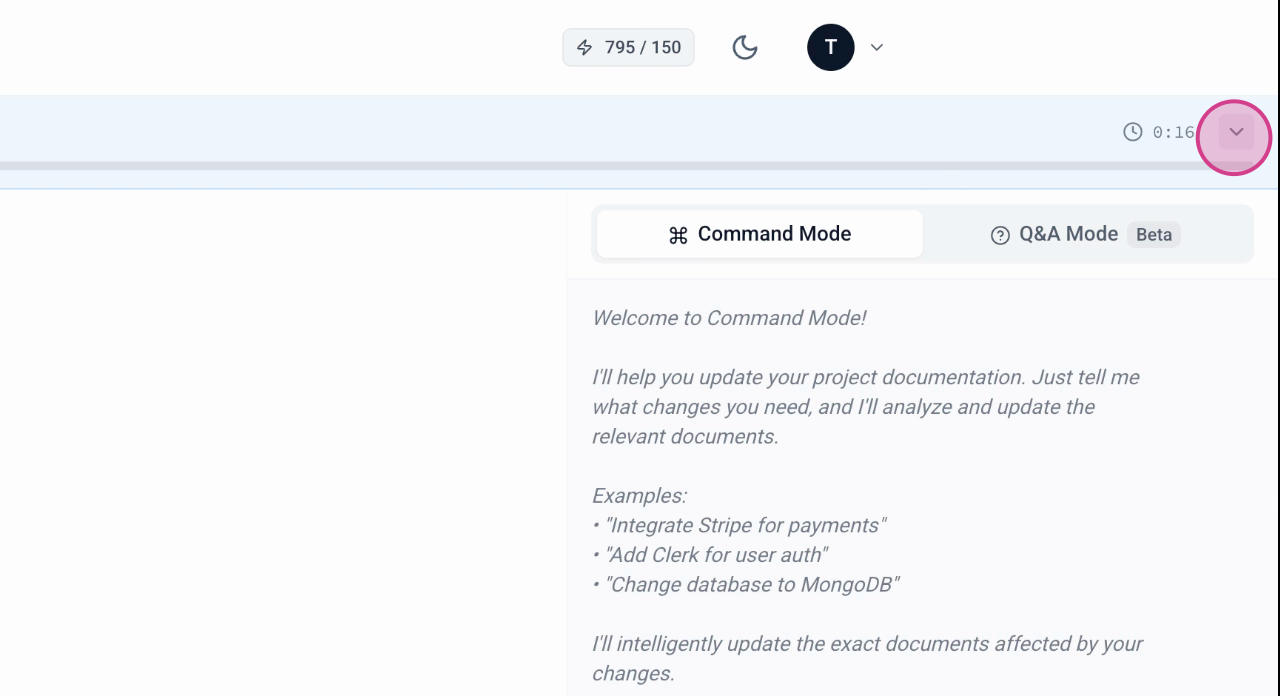
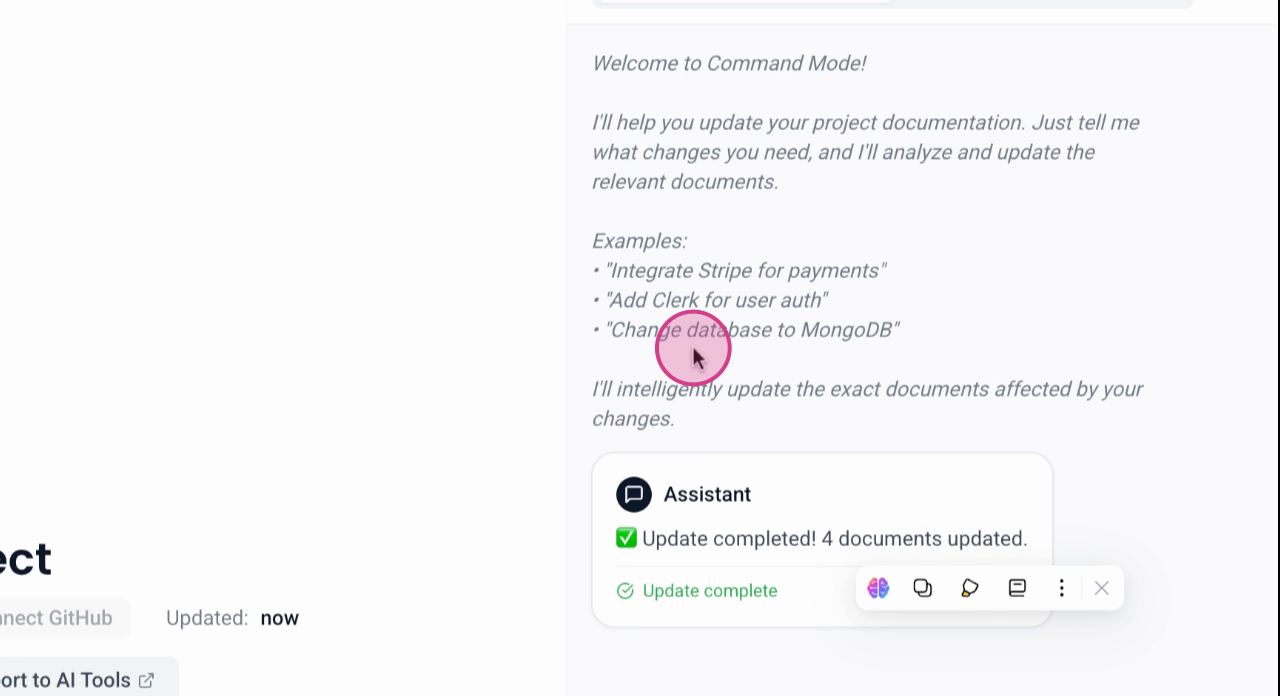
Using Command Mode
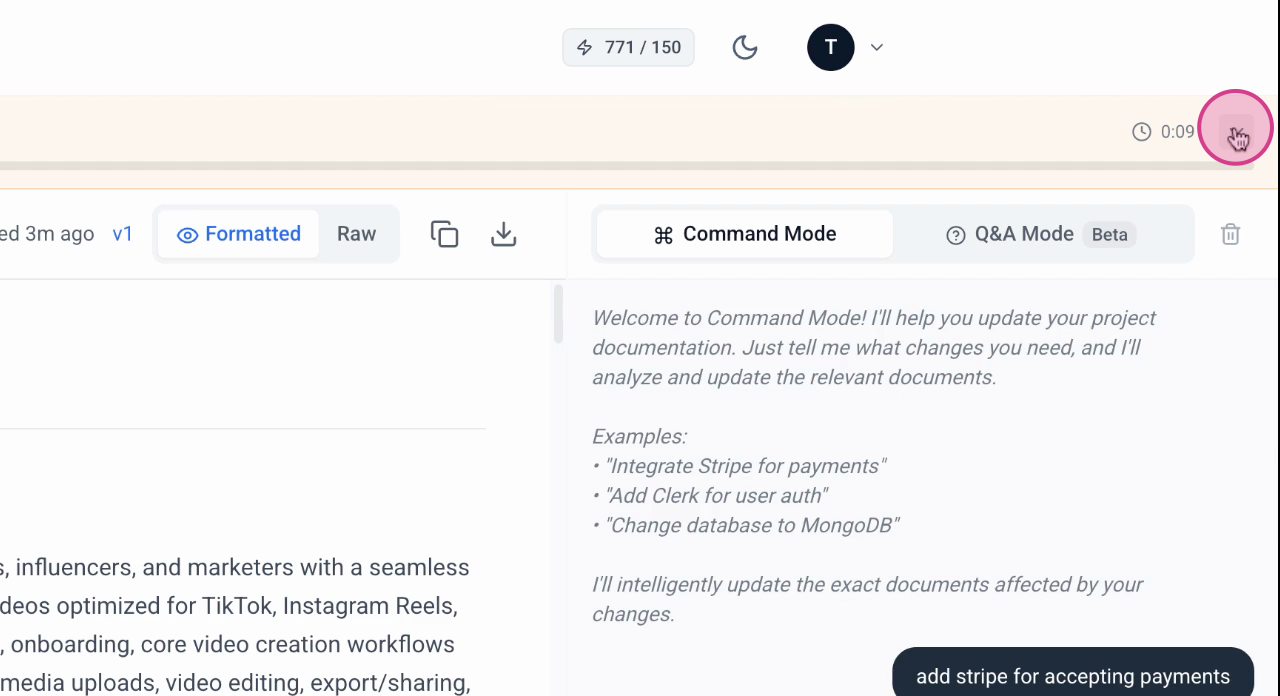
Step 1: Open the command mode on the right of your interface to start making changes using natural language commands.
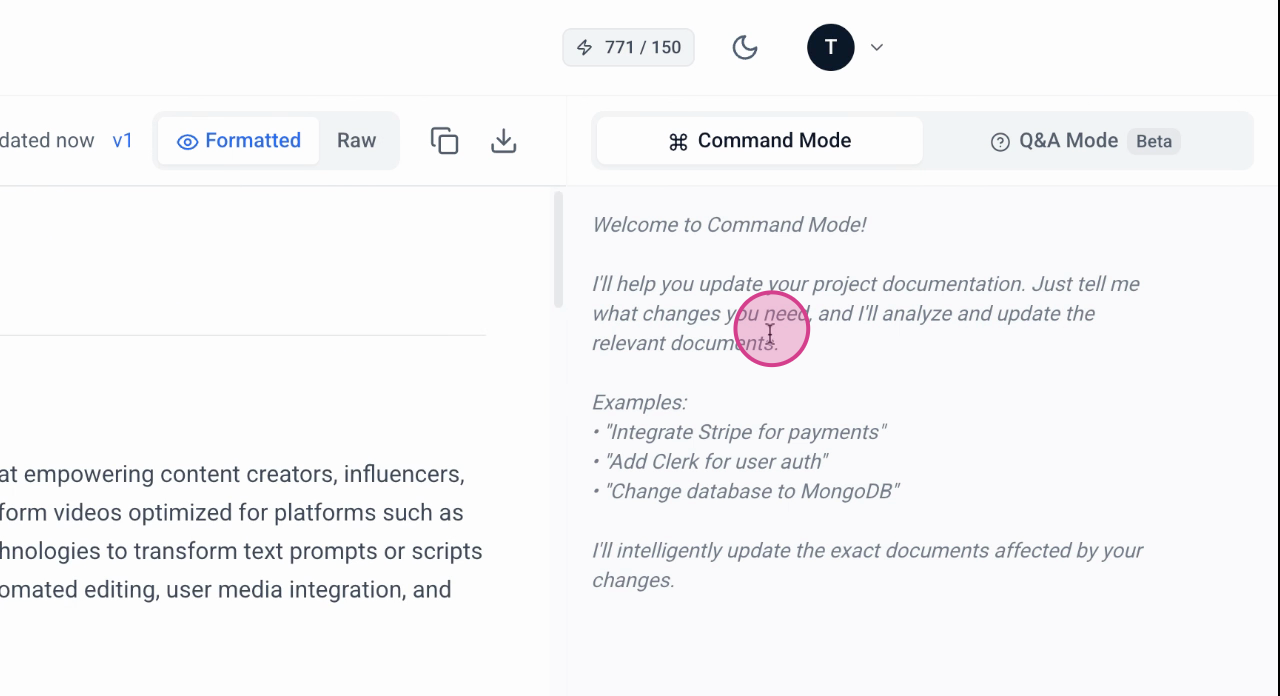
Step 2: Enter a specific command to add a new feature. For example, type "add Stripe for accepting payments" to integrate a payment gateway.
Step 3: After entering the command, the system generates all necessary documentation automatically.
Step 4: If you realize you've missed mentioning something important like Stripe for accepting payments, don't worry.
Step 5: To update the existing documents, simply use the command mode again and specify what needs to be added or corrected. For instance, if you need to edit documents to include Stripe, enter the command "add Stripe for accepting payments" again.
Step 6: The system will analyze your request and identify which documents and sections require updates.
Step 7: Confirm the updates in the confirmation window once the system has processed your request. This ensures that all changes are accurate and reflect your needs accurately.
Updating Documents
Step 1: Start by updating the PRD tech stack, task list, user flows, and database schema. Begin with selecting the documents you need to update.
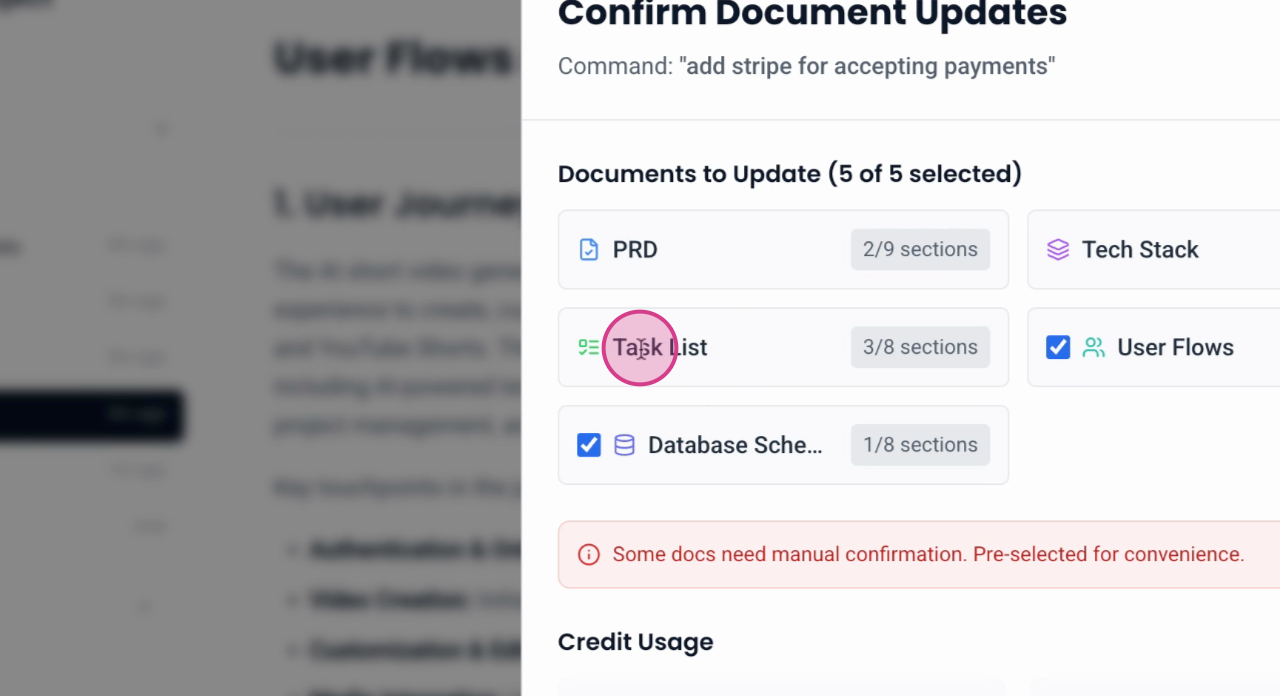
Step 2: Decide which documents require updates. In this case, uncheck User Flows if you do not wish to update it.
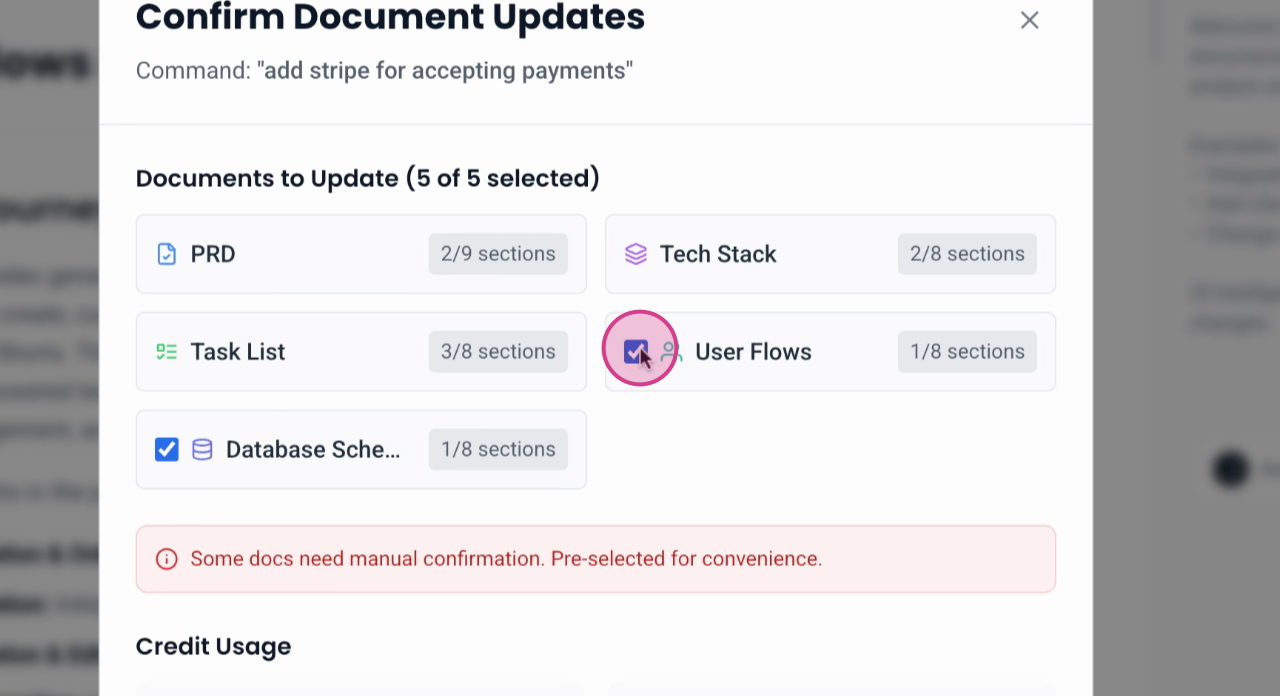
Step 3: After making your selections, click Confirm Update to initiate the updating process for the remaining documents.
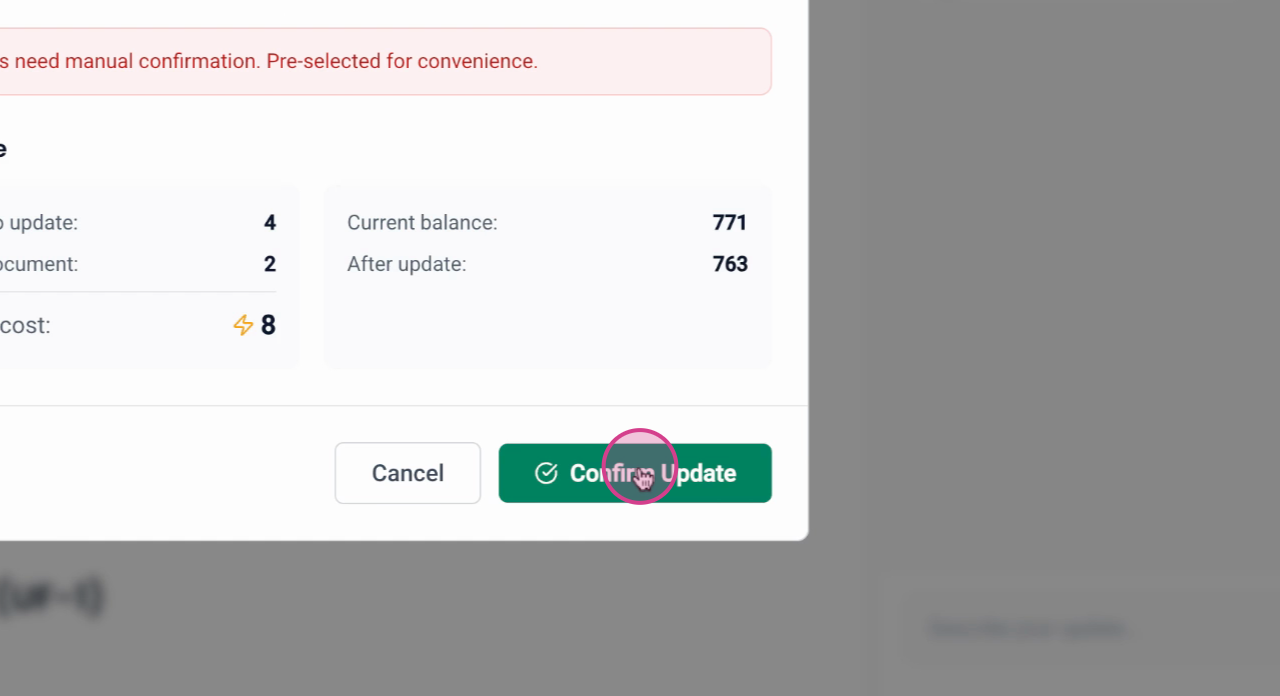
Step 4: Monitor the progress of the document updates through the banner for enterprise documents.
Step 5: If you need to expedite the process or cannot wait for updates to finish, close the window and set up email alerts to be notified upon completion.
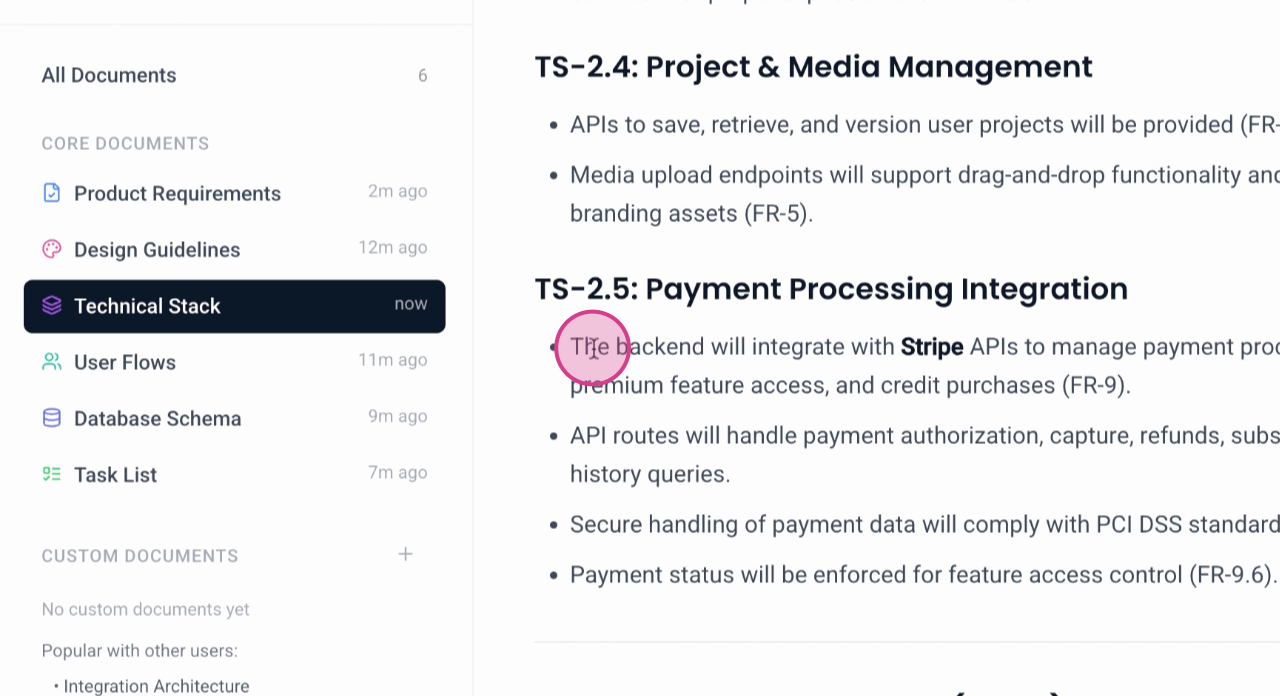
Step 6: Note the integration of Stripe for payment processing in the updated tech stack document, as indicated by the added stripe under the payment processing section.
Step 7: Observe how all documents are interconnected with specific feature numbers and reference interactions, which helps in reducing costs associated with AI coding tools.
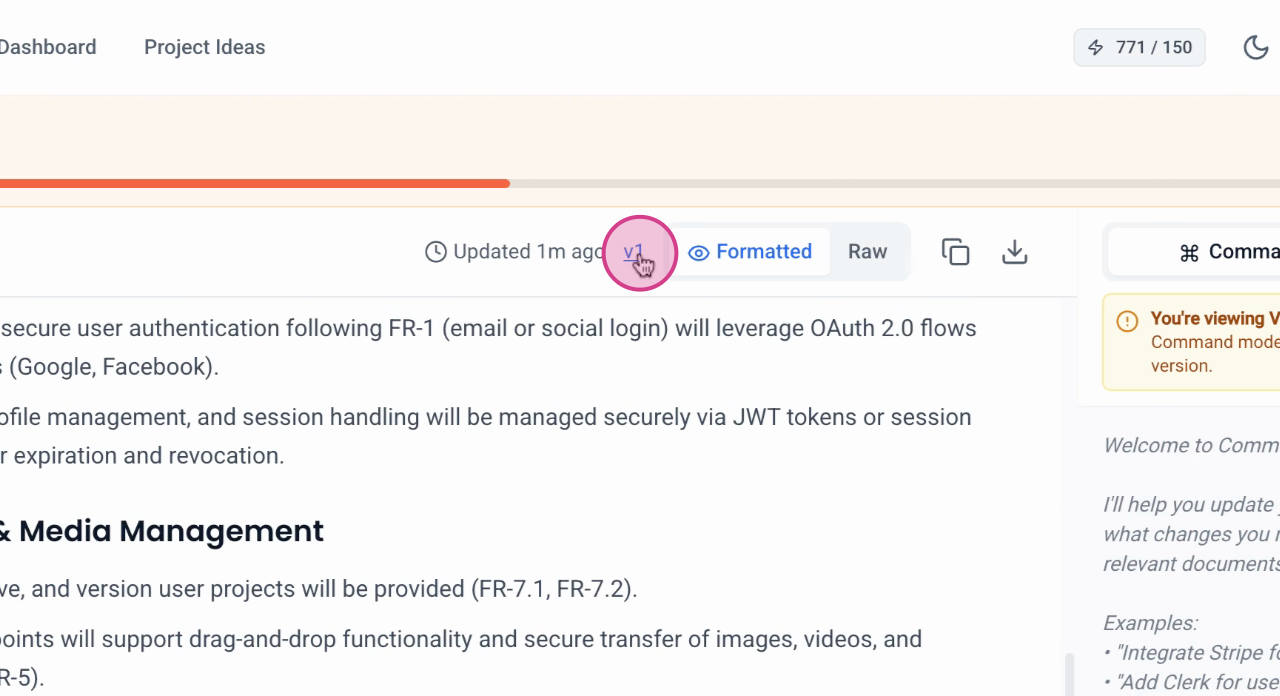
Step 8: To compare with previous versions of the document, click on the designated area to view version one of the Technical Stack.
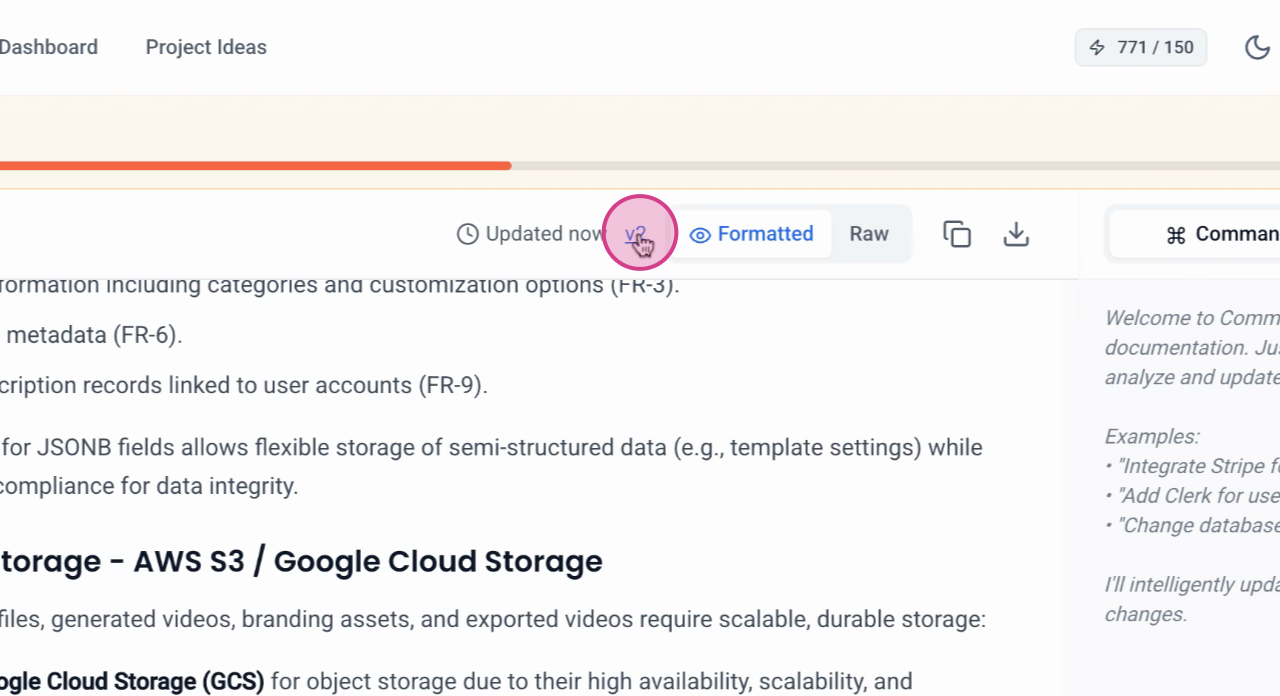
Step 9: Review version one of the document to ensure all necessary updates are correctly applied.
Version Management
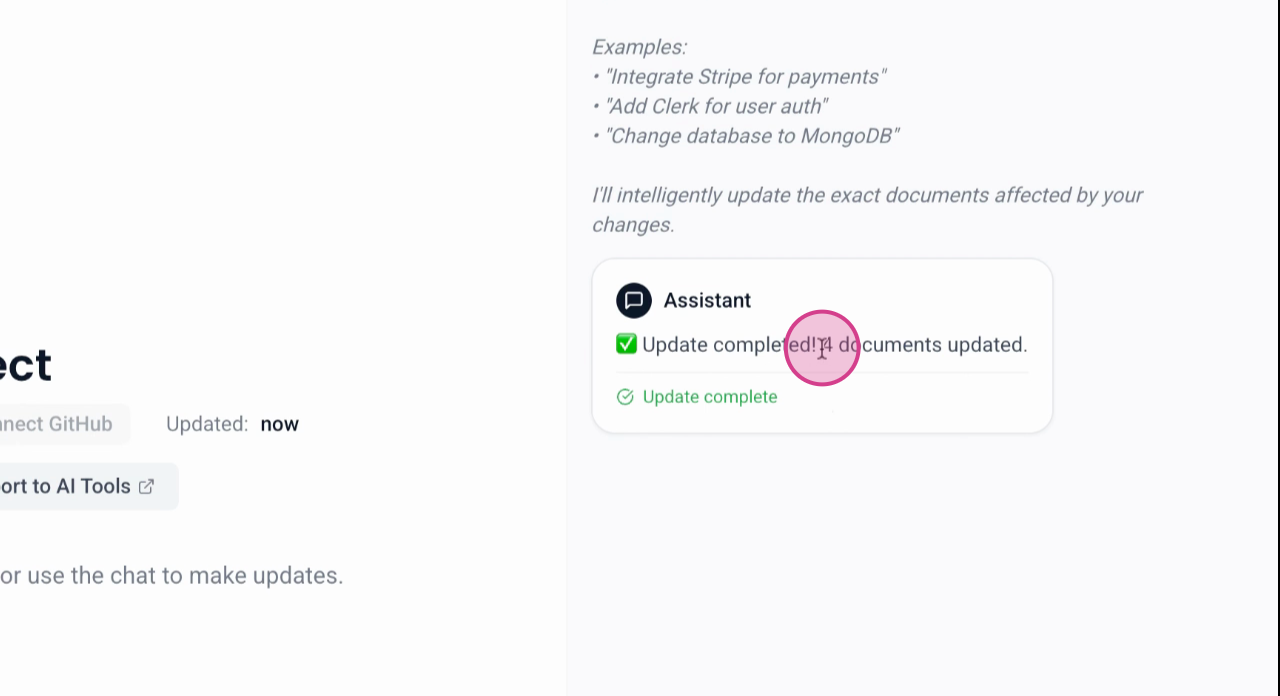
Step 1: Return to V2 of the project by clicking on the V2 tab.
Step 2: Verify that all edits have been applied to the four documents as indicated by the message "Update completed, four documents updated."
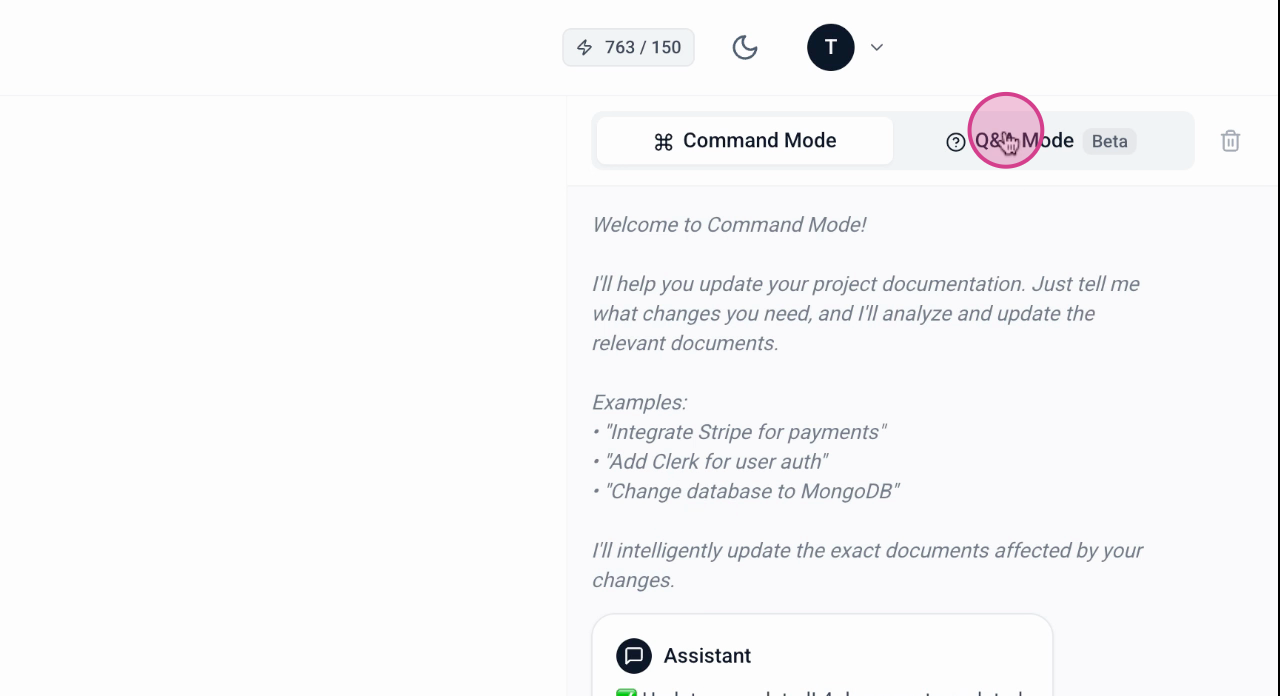
Using Q&A Mode
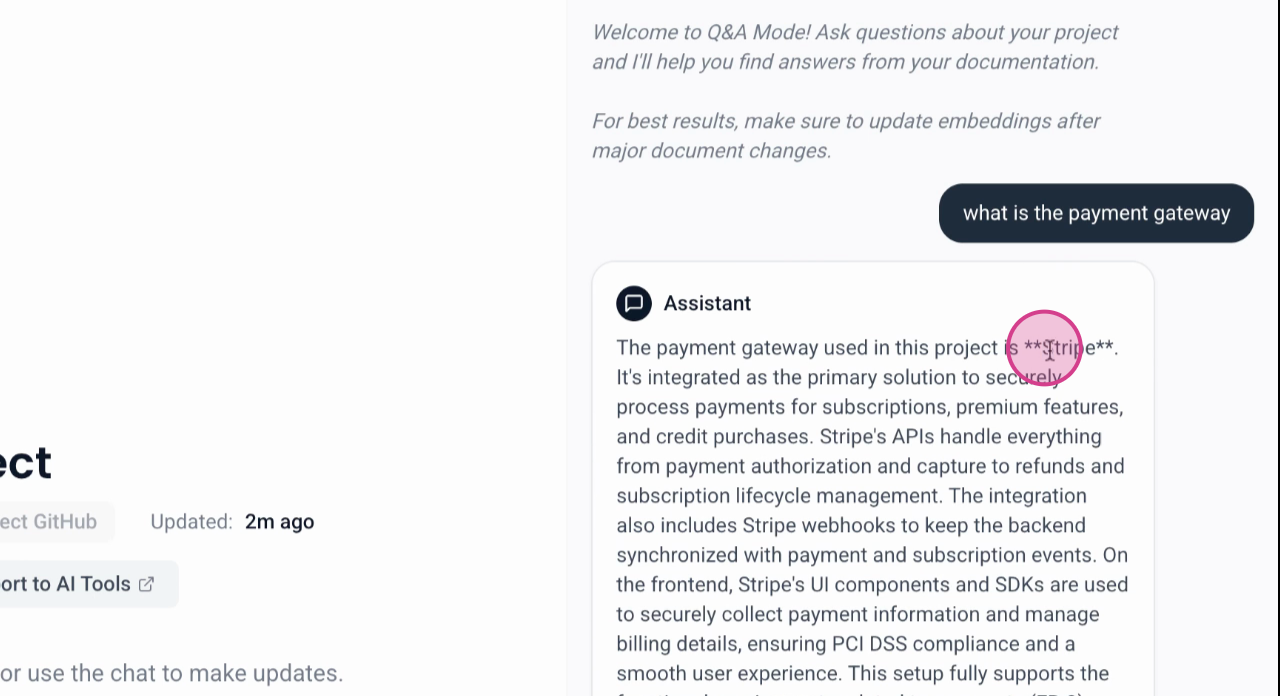
Step 3: Test the updates in QA mode, which allows you to understand more about your project.
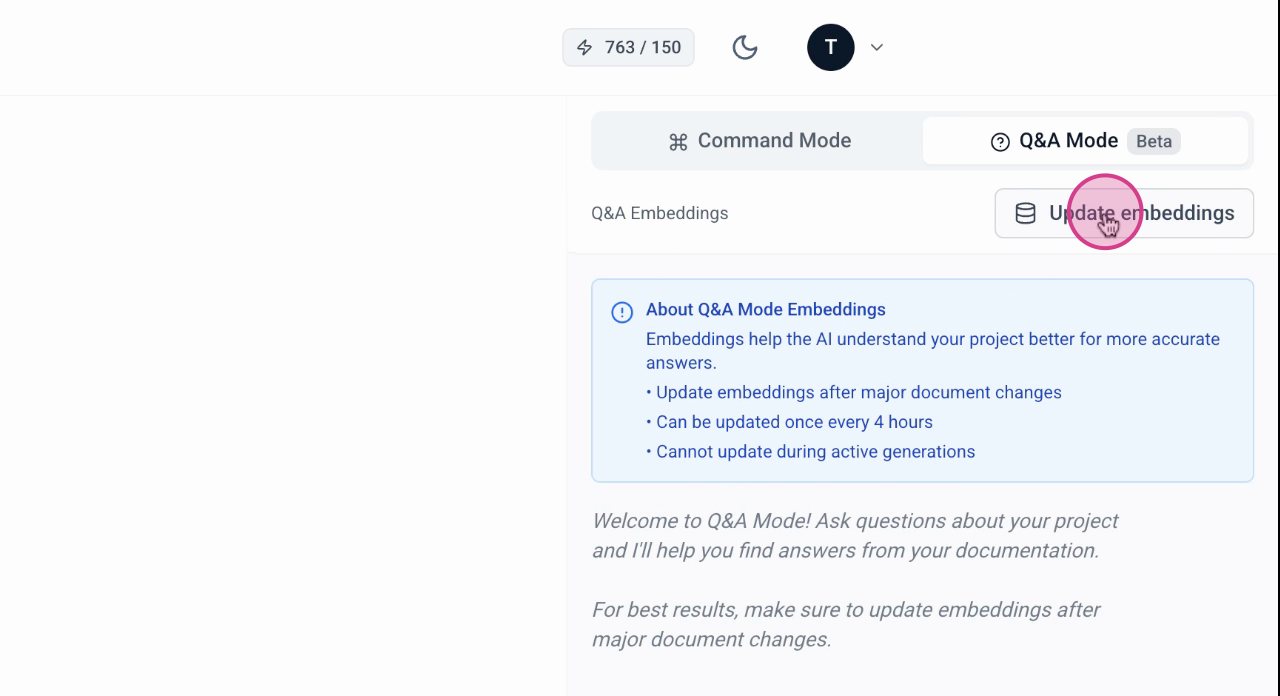
Step 4: Check if the embeddings are updated. Since this is the first generation of the project, click Generate Embeddings. Wait a few seconds for the process to complete.
Step 5: Once the embeddings are generated, begin querying the system.

Step 6: Ask specific questions about the project. For example, inquire "What is the payment gateway?"

Step 7: Continue asking relevant questions, like "What is the backend?" The system should respond that the backend framework is Node JS with the Express framework.

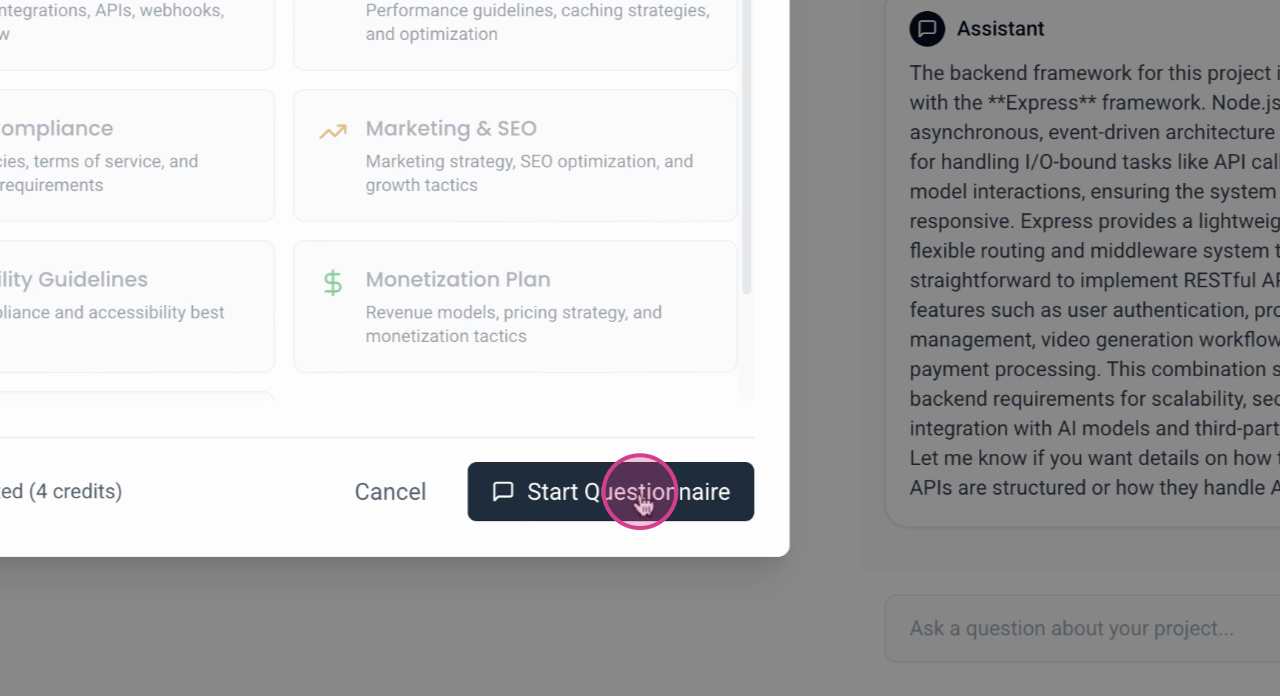
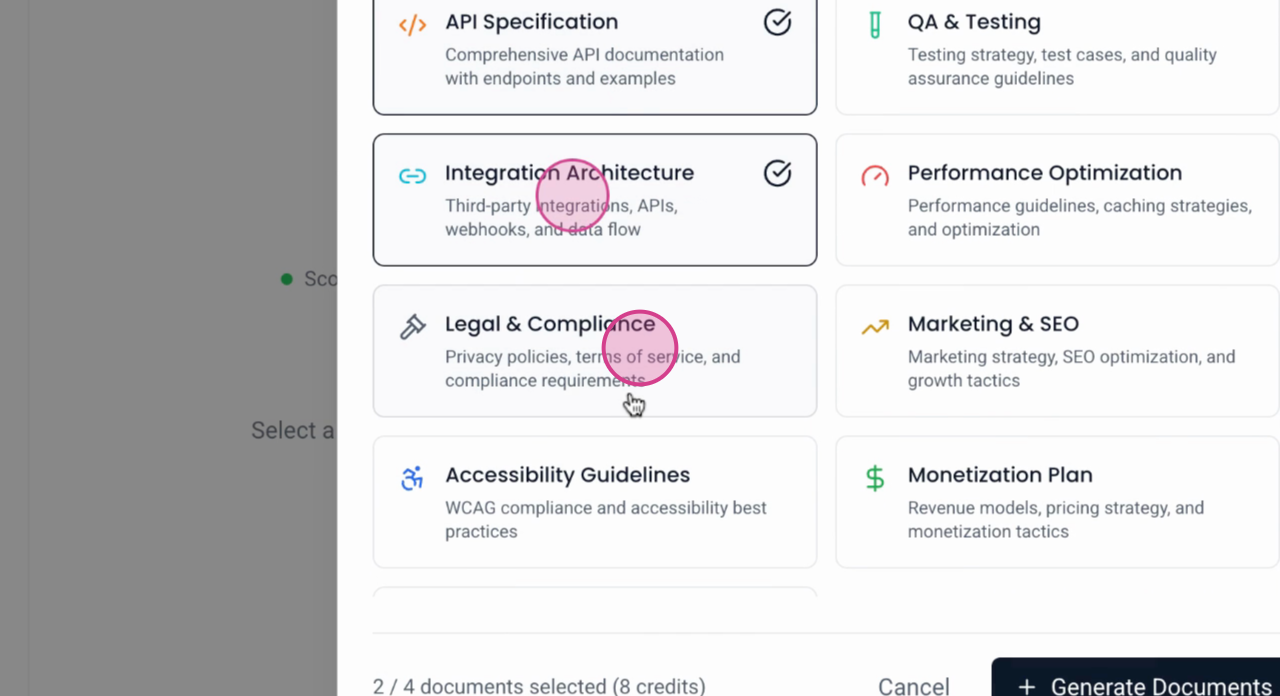
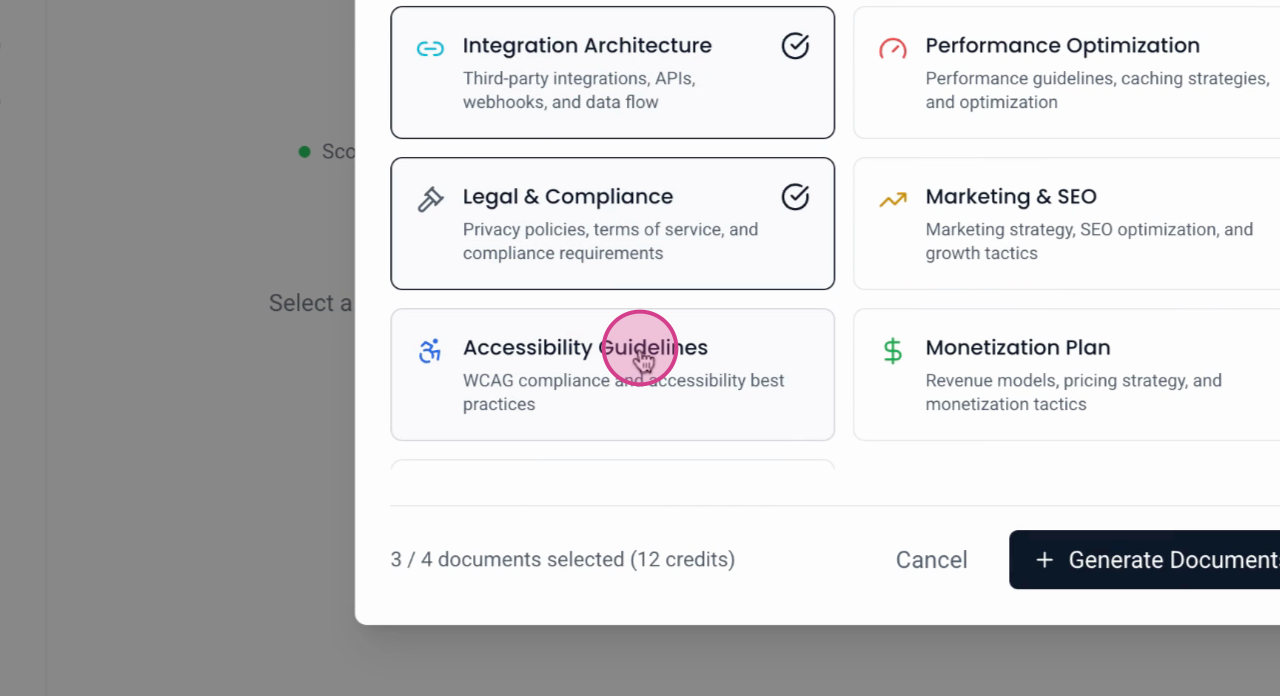
Step 8: Note that you've generated six code documents. You also have the option to generate additional types of documents, such as custom documents. There are nine types of custom documents available, including API specification, integration architecture, legal and compliance, and performance testing.
Generating Custom Documents
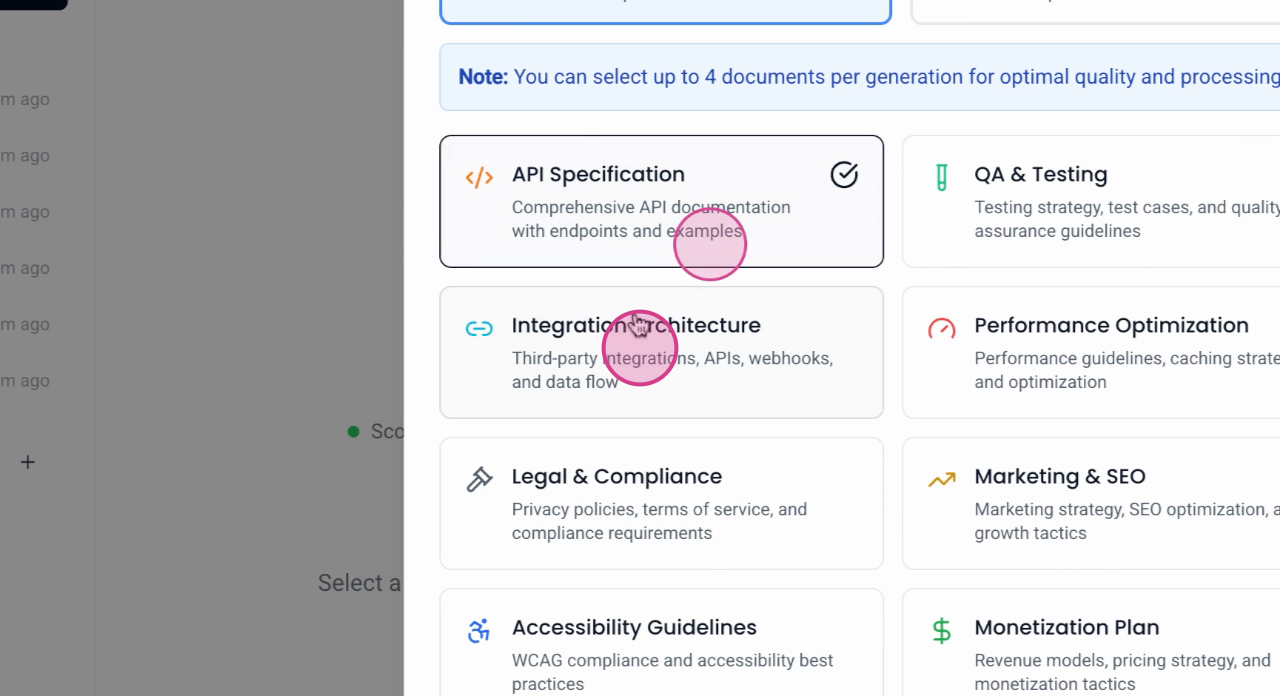
Step 1: Generate up to four documents simultaneously. To start, select the documents you want to generate.
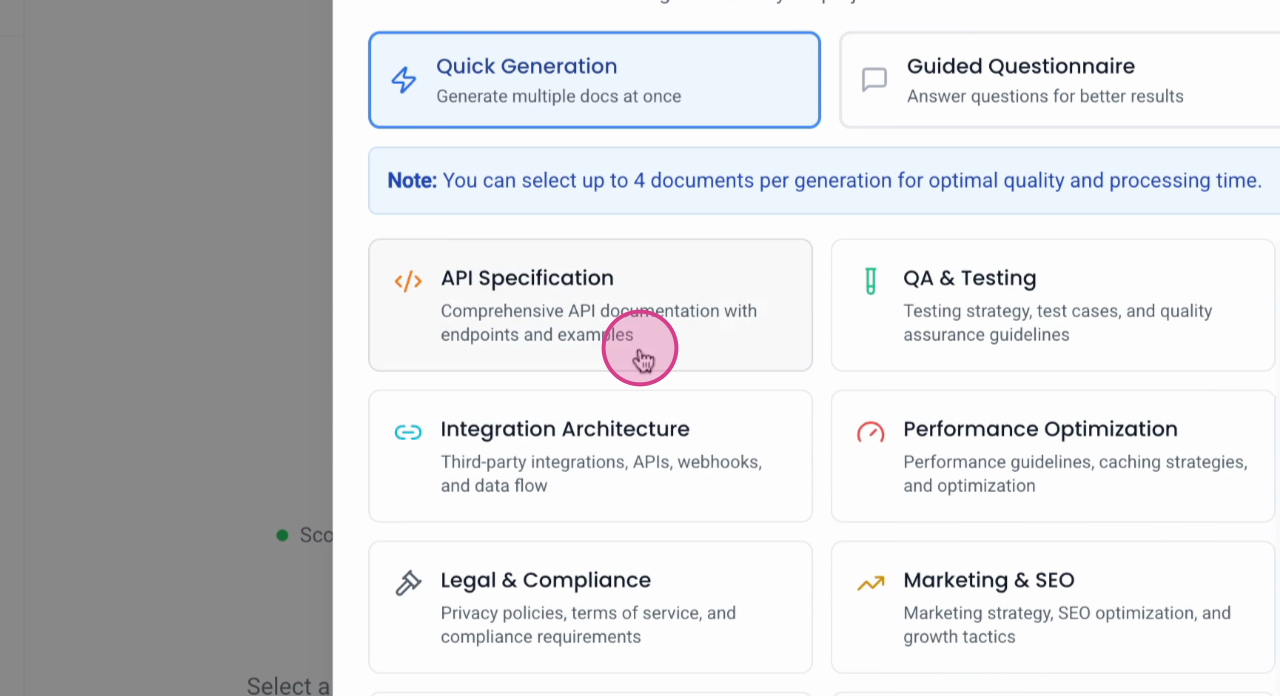
Step 2: View the selected documents. You'll see that you can choose up to four.
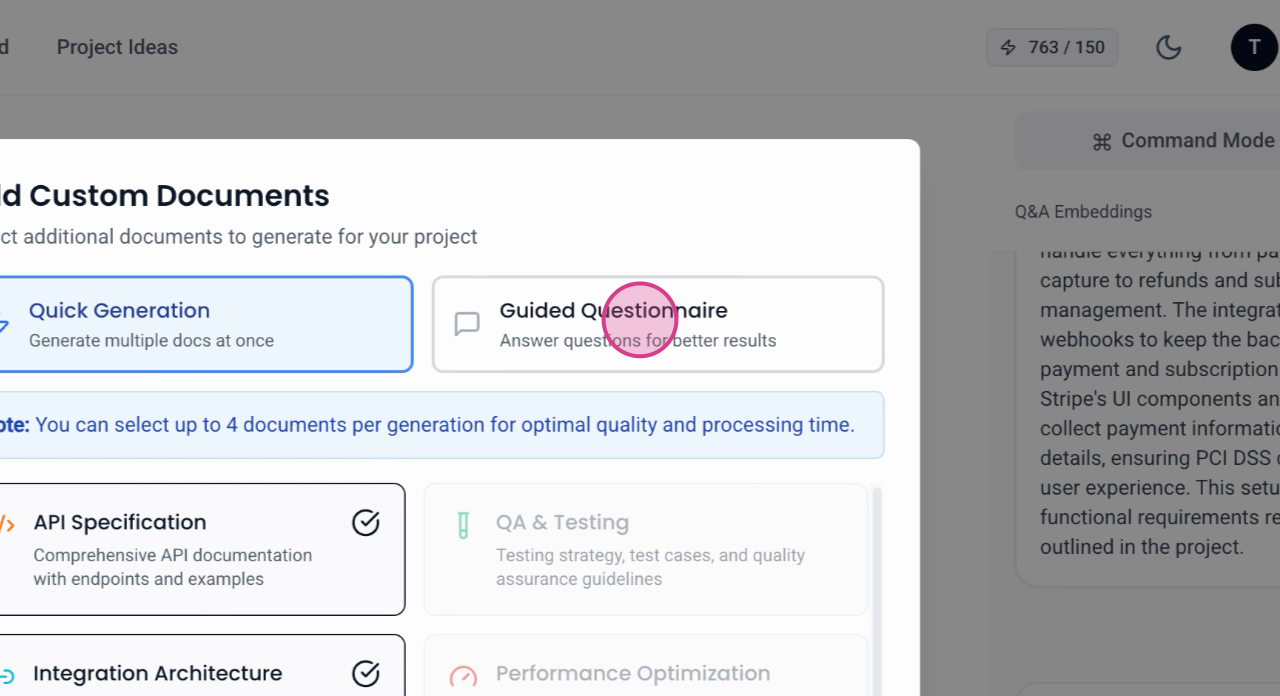
Step 3: For a tailored document generation, use the guided questionnaire. This feature is ideal if you need specific instructions included in your documents.
Step 4: Choose any one of the documents for detailed customization. For instance, select the API specification document.
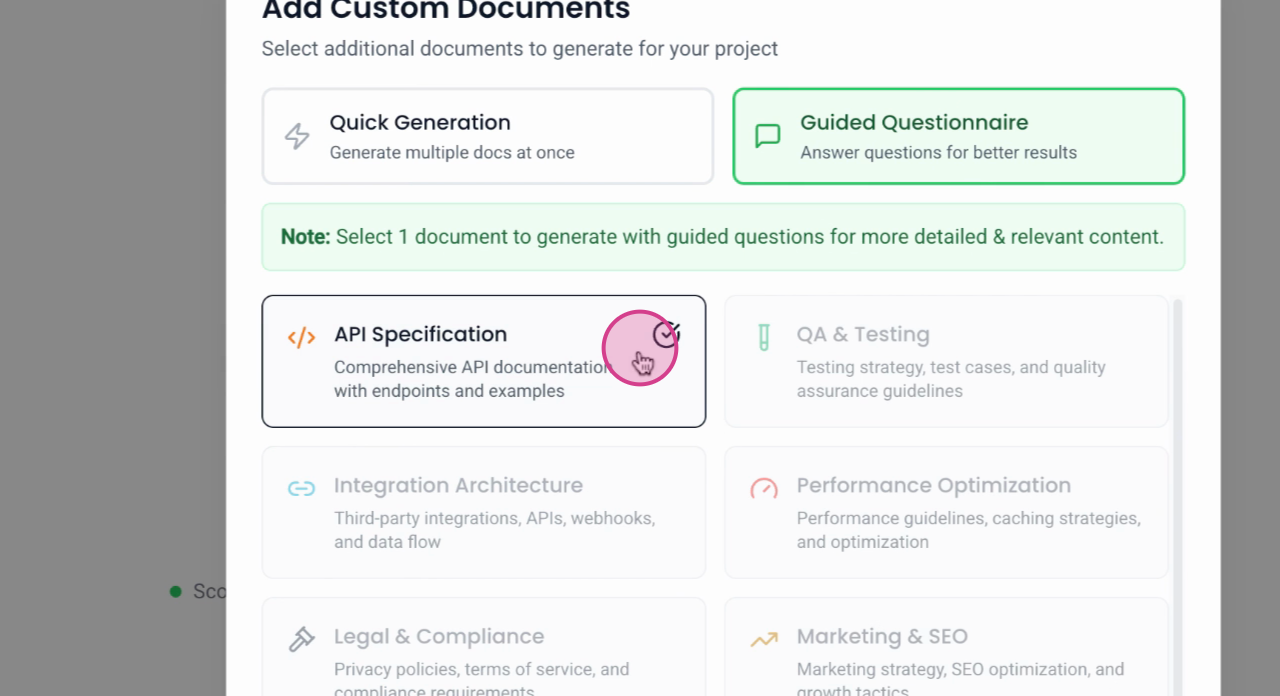
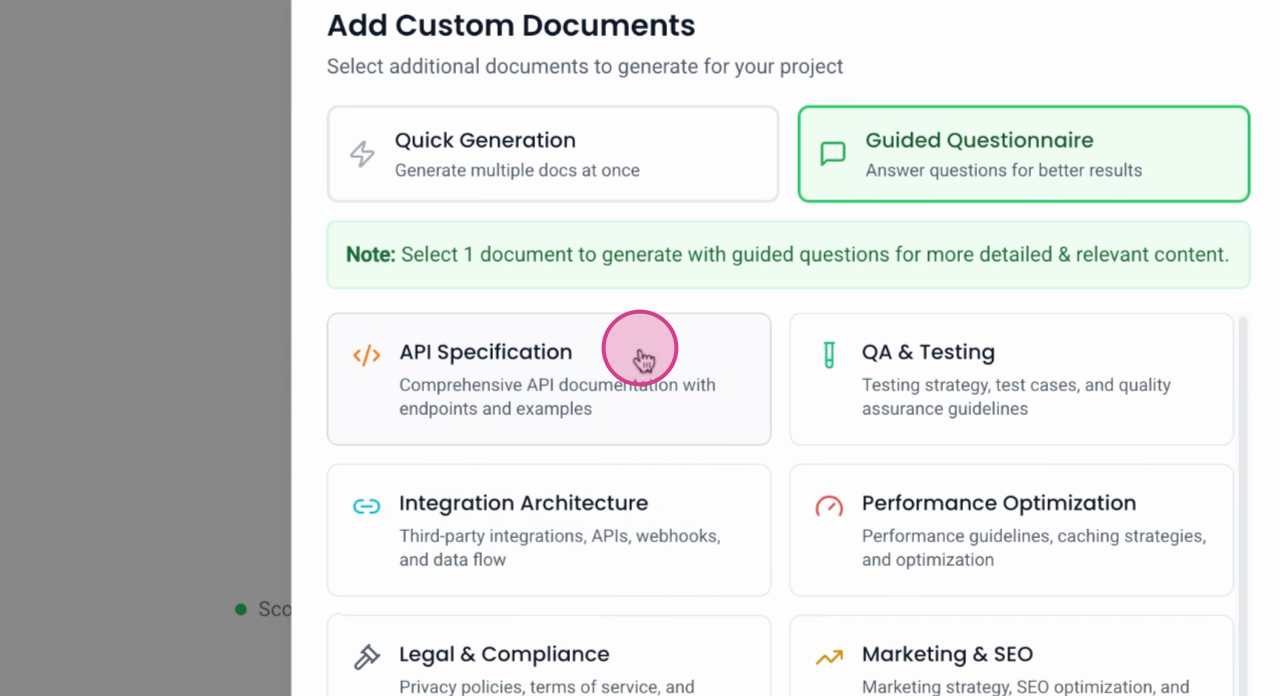
Step 5: Begin the questionnaire. This will generate specific questions to guide the customization of your document.